


Stream live or recorded TV to any Plex-compatible device.
[Ed: this entire article is pretty much useless now, as Plex natively supports viewing and recording live TV. I’ve added it here, anyway, for posterity I guess…]
Last month, I helped you set up the excellent media streamer, Plex, so that you could access your movies, TV shows, music, and photos across any device inside the home, or out on the road.

As much as I love Plex, and as great as its features are, there is one notable capability that it’s missing: live and recorded television. Thankfully for TV buffs, there are Plex channels (Plex’s name for add-ons) that can work with different PVR software applications to bring live TV – as well as previously recorded episodes – to Plex. [Ed: in case you overlooked the note at the top, this is no longer the case: Channels are gone, and Plex now supports DVRs and Live TV natively]
Unfortunately, I only have room to cover one solution, so have opted for the one that works best on Windows (sorry Mac and Linux users); NextPVR.
NextPVR is a donation-ware package that works with heaps of different TV Tuners out there – I had no problem getting it to work with my recent model Happauge WinTV-dualHD USB tuner, for instance – and various media centres, including Plex andKodi, Jellyfin, and Emby. However, it does require some initial setup to get it to work properly, so let’s take a look at how to do just that.
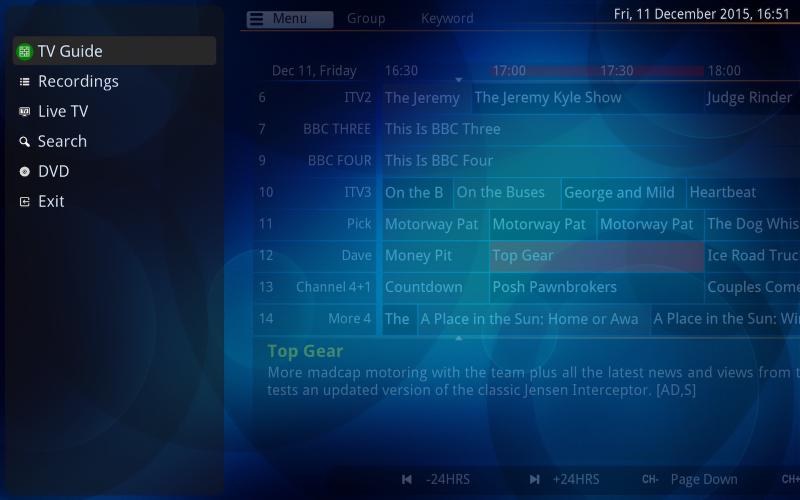
Configuring NextPVR #
First up, visit the NextPVR Downloads page to grab the latest version. I recommend installing it on the same PC that runs the Plex Media Server (this isn’t a hard and fast requirement, but this guide assumes that they are). On first open, the ‘About’ screen will tell you the first steps needed to get NextPVR running, however, there are a few places where the default settings may not work properly, so I’ll walk you through each.
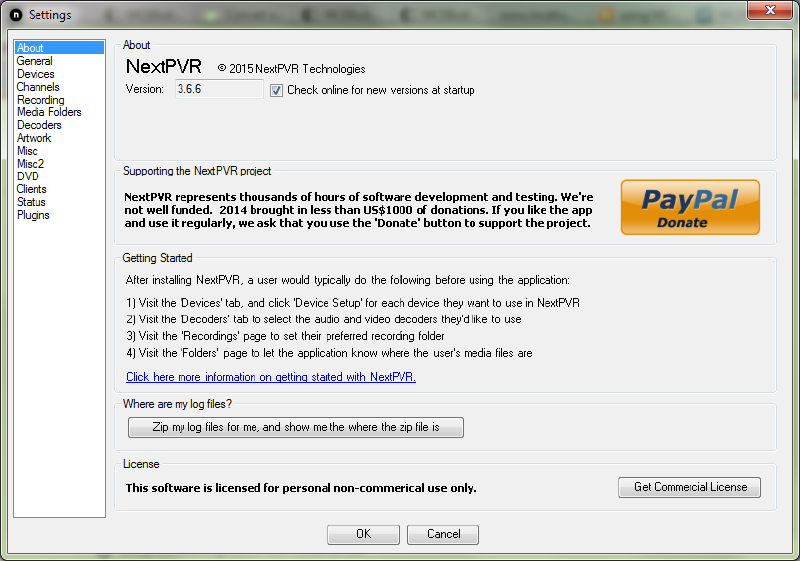
Setting up Devices #
Presuming that you’ve already plugged in your TV Tuner and installed the required drivers (and the software that came with it – which will help with the ‘Decoders’ section below), the first thing you need to do in NextPVR is set up each tuner by navigating to the ‘Devices’ section of the Settings screen (note that if you have a multi-tuner device that each tuner will appear as a separate device in Next PVR).
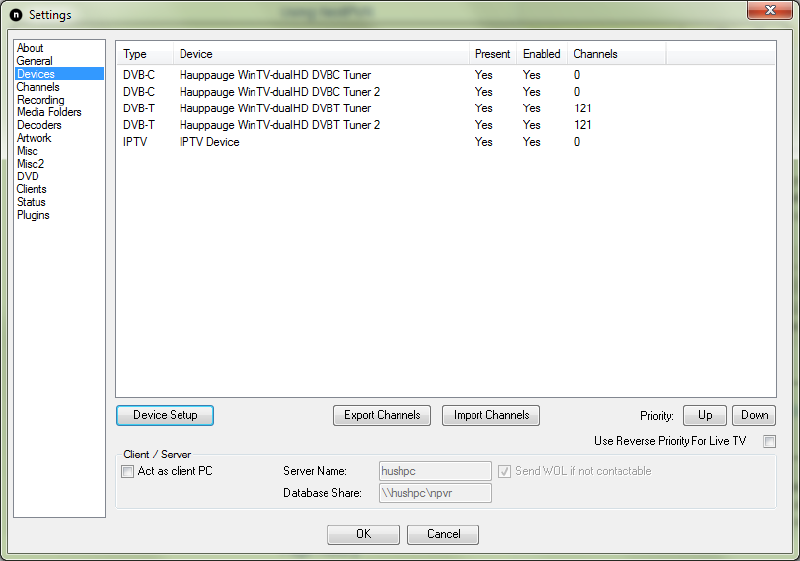
For users picking up ‘free to air’ broadcasts, you’ll only be interested in the DVB-T tuners listed. DVB-S Tuners are for those plugged into satellite dishes, and DVB-C are for those plugged into cable boxes. So click on the first DVB-T tuner listed, and click the ‘Device Setup’ button.
The ‘Enabled’ checkbox should already be selected, but just confirm that it is, anyway. The CI / CAM section just below that doesn’t apply to free-to-air channels, so you can safely ignore it (it’s for accessing encrypted channels, which you won’t be doing).
Next, select the country you’re located in (forgive the UK images – I just moved here from Australia), as well as the local area. If you’re not sure what area you are located in, you can search for Australian broadcast regions at myswitch.digitalready.gov.au. As you can see, it’s recommended that you also check the ‘Scan Offsets’ option. Then, presuming your Tuner is connected to an aerial, hit the ‘Scan’ button and wait a few minutes for it to find all the channels in your area. It’ll tell you when done, and once it is, you can either accept the list to import all the found channels, or choose which ones you don’t want to appear by selecting them from the list and clicking the ‘Delete’ button. When done, press OK.
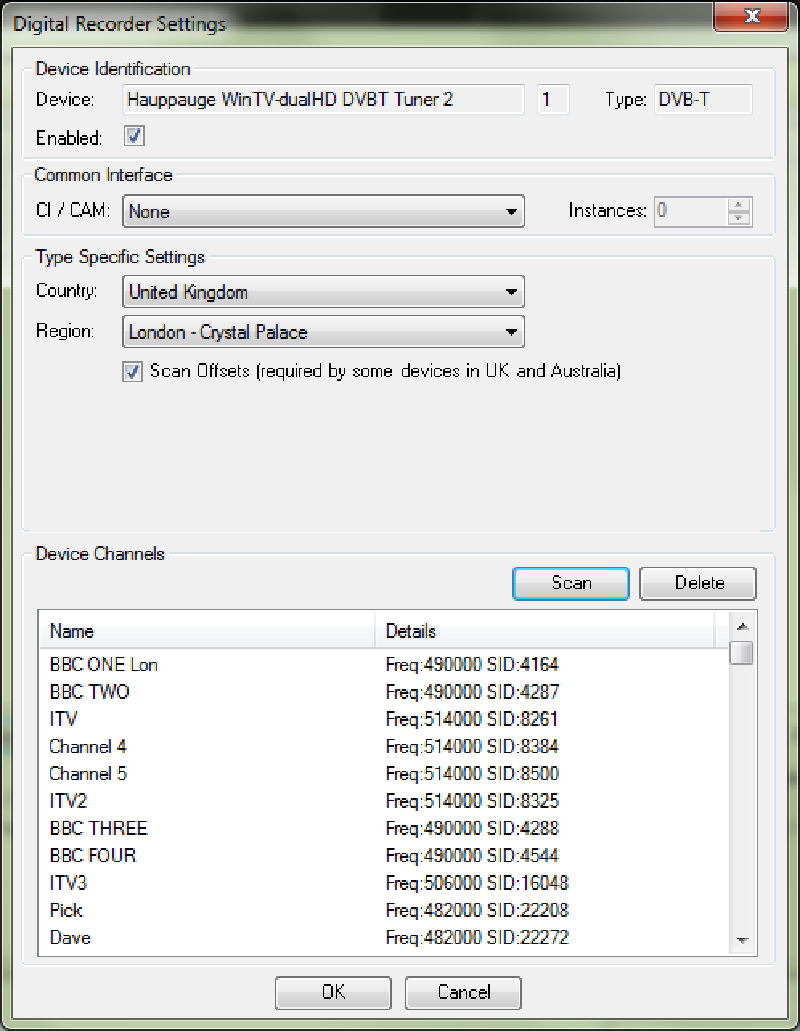
If you have a dual tuner device (or a second tuner connected to your system), repeat the above process for each tuner. When you click the Device Setup button for the next tuner, NextPVR will offer to copy over the stations you just set up. If your tuner is the same type, then do so. If it’s a different type (say, one supports the newer DVB-T2 standard while the other doesn’t), then you’re best off manually setting it up by following the same procedure outlined above.
To get the latest EPG (TV Guide) data, next visit the Channels section of the Settings screen, then click ‘Update EPG.’ This will take some time to download, so perhaps go make yourself a cup of tea (I’m so English now…). If you live in the US, this is where you can enter your Schedules Direct subscriber information to get accurate program information (see the EPG section of the NextPVR Wiki for more info).
Setting up Decoders #
The next step is to tell NextPVR what software it should use to decode the TV stream coming from your Tuner. You do this from the Decoders section of the Settings screen. If you installed the TV viewing software that came with your TV Tuner card, chances are that you will see it listed in the dropdown menus for each format. The link down the bottom of the Decoders section will take you to a page on the NextPVR website that will allow you to download some of the required audio decoders, as well as make some recommendations on what ones to use.
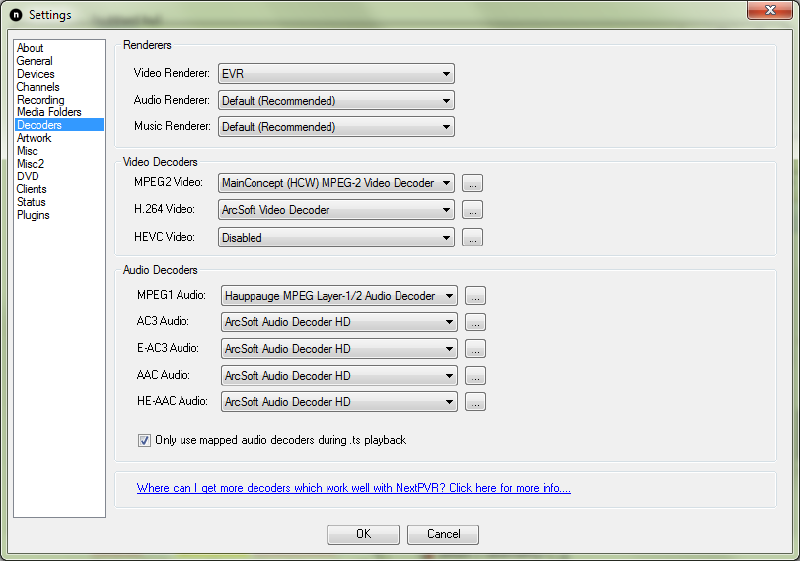
Follow NextPVR’s recommendations, but don’t feel bad if you have a different codec to the one they recommended – if you find that the video or audio doesn’t work when you switch to live TV, then this is what you should change to fix it. It doesn’t really matter which one you choose, just as long as it works. It’s worth noting that choosing NextPVR’s recommended codecs resulted in silent audio on my particular system, which is why I have different codecs selected in the screenshot. You can learn a little more about codecs on the NextPVR Decoder page or by visiting the NextPVR Wiki.
Setting up Recordings #
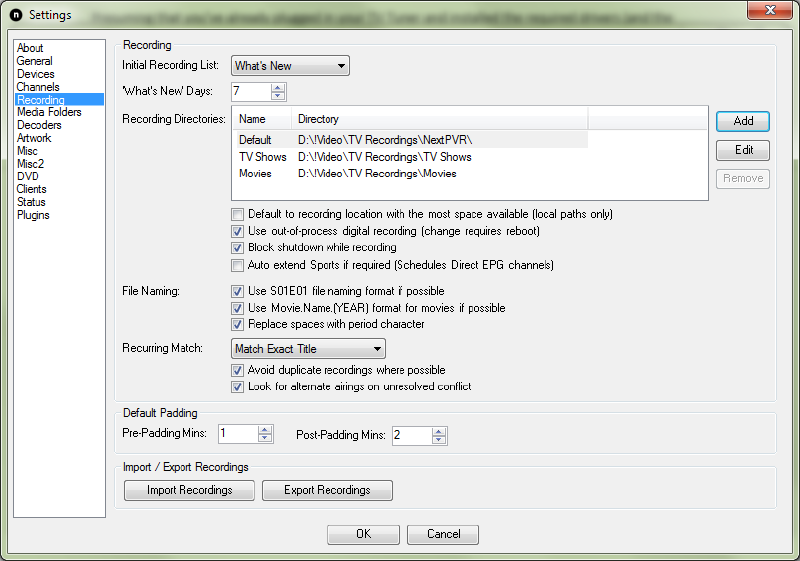
Now you need to tell NextPVR where to store your recordings by visiting the Recordings section of the Settings screen. You can do this by double clicking on the ‘Default’ entry in the list that appears there and browsing for a suitable path. I DO NOT recommend putting it within a folder that Plex considers a library – it won’t work, and could cause problems. So, just put it on a drive that has a lot of spare room.
If you wish, you can specify different folders/drives for recording, so as to spread out the recordings to evenly use up disk space. To do so, add the different directories, then tick the ‘Default to recording with the most space available (local paths only)’ check box. You can also specify different directories for movies or TV shows, just select the different directories and name them accordingly.
Note this pro-tip from the wiki, too: if you have a recording location you want to be able to use for specific recordings or archiving, but don’t want recordings going there automatically based on disk space, then share the directory in Windows and then define the path as a network location. NextPVR will then ignore it when considering locations based on disk space.
The rest of the options are fine to leave as defaults, so click OK and you’re done.
You may recall that the About page also mentioned setting up media folders. This enables you to watch/listen to your existing media from within NextPVR. As we use Plex for this task, there’s no need to specify those directories. In fact, you may also want to disable the Music, Videos, and Pictures menus from the UI of NextPVR. You can do this by visiting the Plugins settings menu, and unchecking the respective entries.
Now that it’s all set up, click OK then, from the main screen of NextPVR, choose Live TV (or TV Guide) and check that you have a working signal. If you don’t, try changing the video (if it’s a video problem) or audio (if it’s an audio problem) decoders from the Decoders menu in settings (right click on the screen to get back to settings).
Installing the Plex Channel #
To access NextPVR from Plex, you need to manually install the NextPVR Plex ‘Channel.’ This is super easy to do: simply visit github.com/psyciknz/NextPVR.bundle [Ed: now abandonware] and click the ‘Download ZIP’ button on the right. Once downloaded, extract the zip, and copy the ‘NextPVR.bundle’ folder from the extracted zip (NOT the ‘NextPVR-Plex-master’ folder!). Then, right click on the Plex Media Manager icon in your system tray, choose ‘Open Plug-ins Folder,’ and paste the ‘NextPVR.bundle’ folder in there. Now restart Plex, and you should find the NextPVR Channel under the Channels menu. Before you can use it, however, you need to point it in the direction of your NextPVR install.
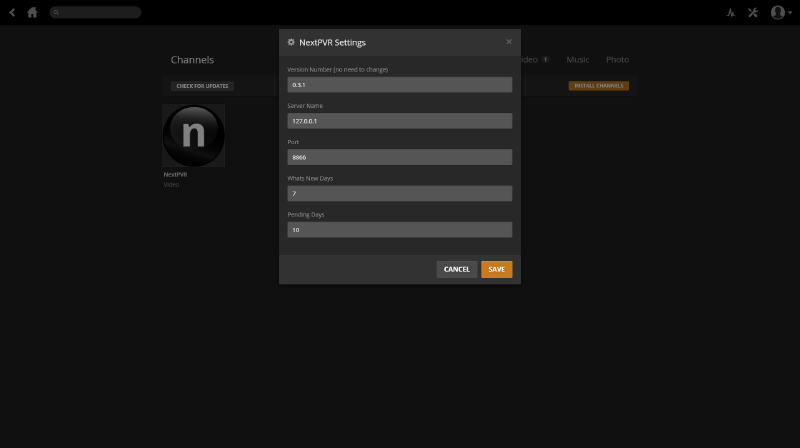
Navigate to the Channels section from within the Plex web interface, then hover your mouse over the icon for the NextPVR Channel, and choose the settings cog icon. Then under the ‘Server Name’ type ‘127.0.0.1’ (without the quotes) to tell it that NextPVR resides on the same machine as Plex. If it doesn’t, substitute the IP address or Server Name as appropriate, then hit ‘Save.’
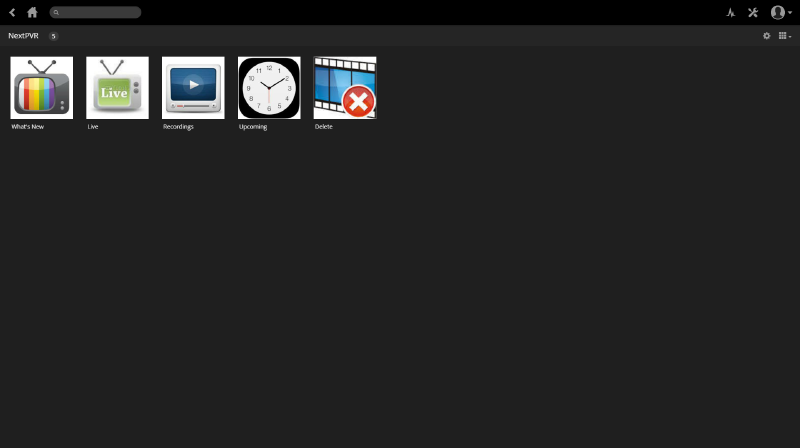
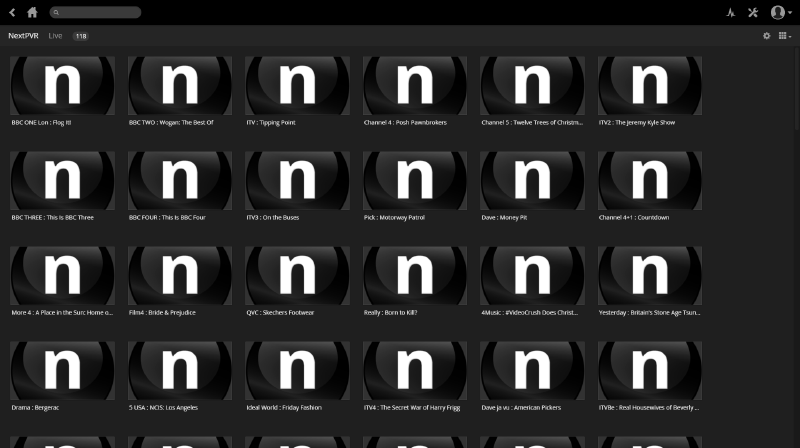
When you open the NextPVR Channel in Plex, you’ll see several options: ‘What’s New,’ which contains your latest recordings up to a maximum number of days specified in the Channel setup page; Live, which allows you to choose a channel to watch live, just like a real television; Recordings, which is where all of your recordings are stored; Upcoming, which shows any scheduled recordings that are yet to occur; and Delete, which is where you can delete those recordings you no longer want.
Notably absent is the TV guide or the ability to schedule recordings – for this you (somewhat unfortunately) still have to use the main NextPVR interface. [Ed: not anymore, what with native Plex DVR support, of course]
Setting up recordings in NextPVR #
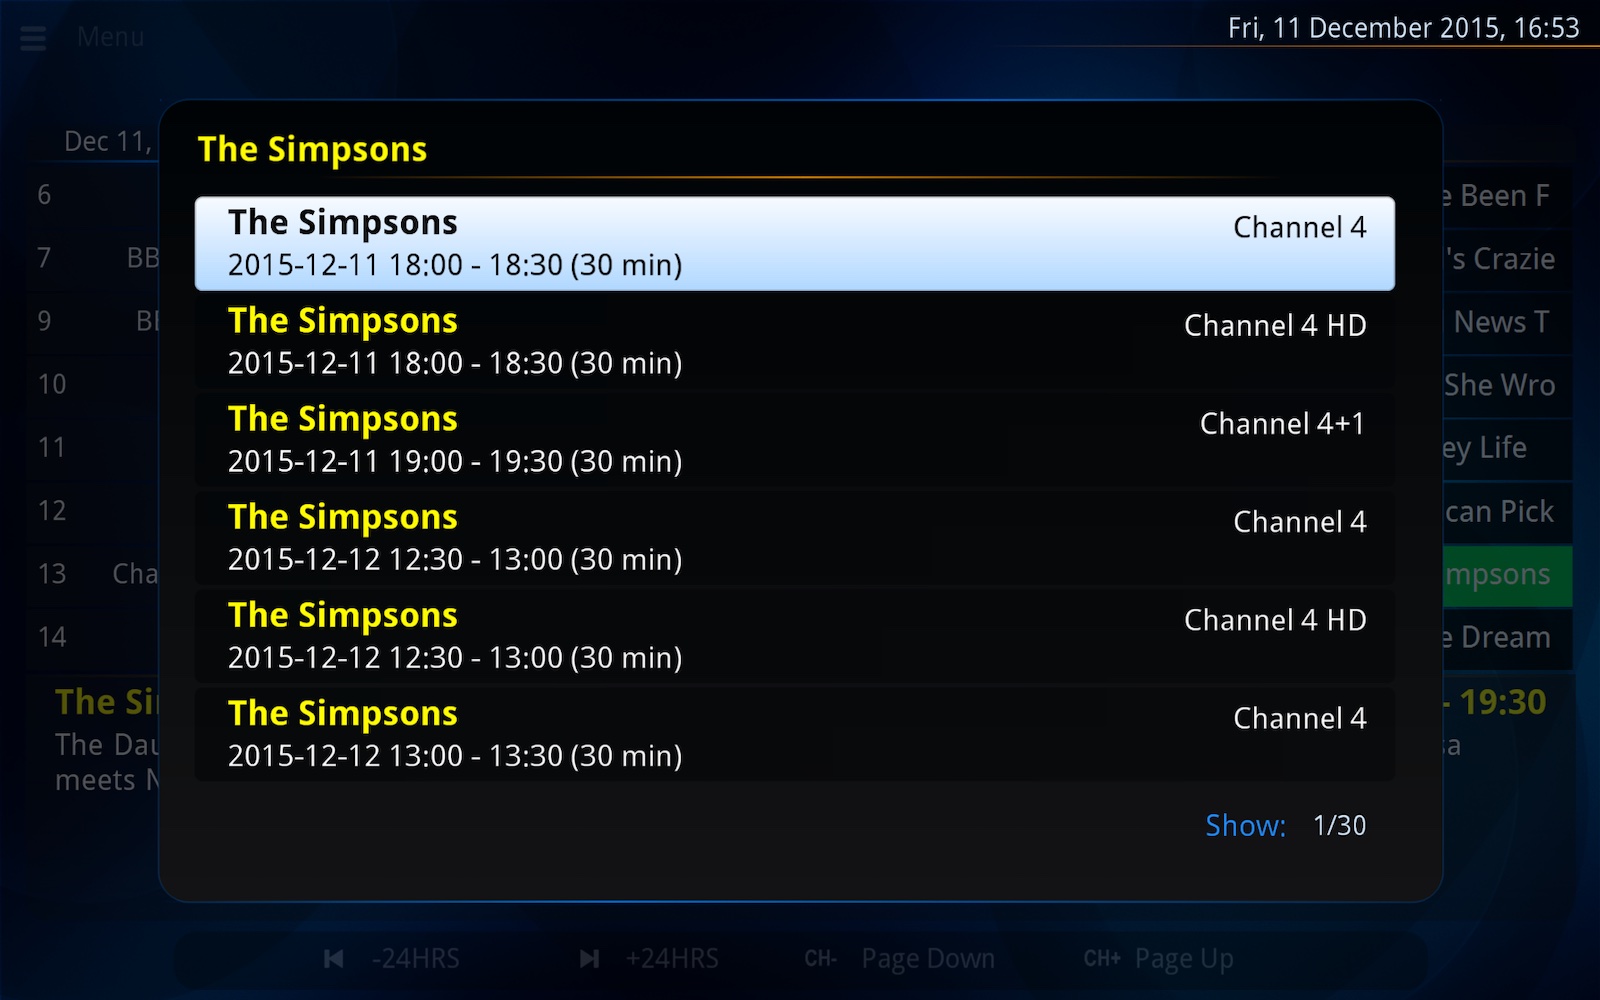
To set up a recording in NextPVR, simply open the main app, and navigate to the TV Guide section. Simply click on an entry that interests you, and choose either: ‘Watch’ to watch it (obvs); ‘Record’ to set it to record while specifying the recording type (which I’ll get to in a moment), as well as which directory to record to (e.g. Movies or TV Shows); Quick record, which will use the default settings; and ‘Find All’ which will search for any occurrences of the show, and add them to your recording schedule (aka series record).
As mentioned, when you choose ‘Record’ you can choose a number of different recording types, as follows:
- Record Once: a one-off recording.
- Record Daily: record a show on any day of the week at the set time.
- Record Weekly: record a show on the set day of the week at the set time.
- Record Week Days [sic] (Monday-Friday): record a show on any weekday (excludes Saturday and Sunday) at the set time.
- Record Weekends (Saturday, Sunday): record a show on a Saturday or Sunday at the set time.
- Record Season (NEW episodes on this channel): records all shows on this channel which are marked as ’new’ (requires a supported EPG, such as Schedules Direct).
The best bit? As soon as items are recorded (or even added to the recording schedule), they’ll instantly appear on all of your Plex devices as an entry in the NextPVR Channel. Who knew it was so easy to get TV everywhere?
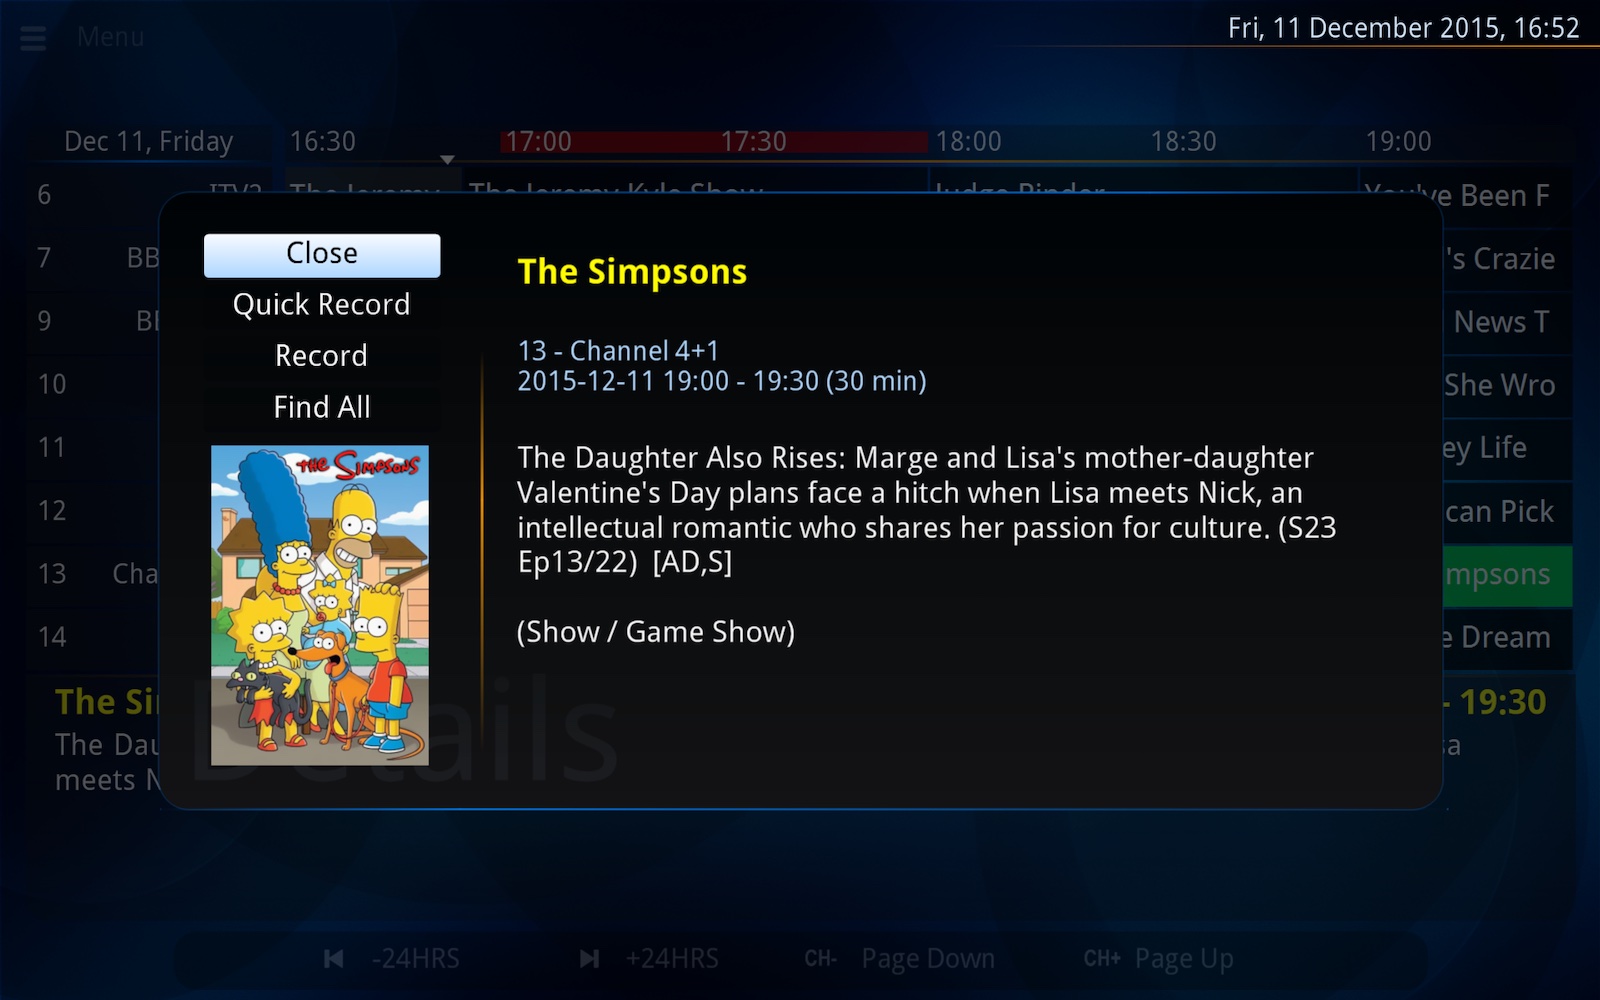
Use the NextPVR interface to schedule recordings either episode-by-episode…
…or for an entire season.
Advanced Recording
You needn’t use NextPVR’s TV Guide to record shows: you can also set up custom search terms (such as ‘Attenborough’) for recordings. To learn how to do so, visit the Manual Recordings section of the NextPVR Recording Schedule page as well as the Advanced Rules section.