

Make your music easily available in every room of the house.
There are few things in my life more important to me than music. I am constantly listening to it — my headphones are on as soon as I leave the front door, and my Hi-Fi is pumping from the moment I get home.
So, it goes without saying that I’ve put in the yards to make the process of listening to music as smooth as possible — no matter if the music is originating from the collection stored on my PC, or streaming from the many online sources, it’ll happily play on any or all of the five Hi-Fis in the house, with full control from my smartphone and tablet.
And, while I take it for granted now, there are still many out there that are yet to realise this musical nirvana (pun semi-intended), despite it being relatively simple to achieve.
Music on your PC #
Of course, I’m going to assume that your music collection already exists in digital form (ignoring all of those collectable LPs and cassettes filling your lounge room) on your PC. This does, however, mean that you have to keep your PC on 24/7, which can be a big power draw if you can’t get ‘suspend’ to work properly. The alternative is that you store your music on a Network Attached Storage (NAS) device, as they are designed to consume far less energy, but this can lead to some compatibility issues with playback devices — most will support UPnP, however, and those powered by Windows Home Server will likely have more software options.
Most of my collection is in the lossless FLAC format, as it’s not only CD-quality (or higher), but it also offers a bit more flexibility, in terms of transcoding the music for portable devices. This can’t always be, however, so I also own plenty of albums in mp3 and ogg format.
Organising it
Now, it’s no good having a digital music collection if you can’t find what you want to listen to. So, it’s absolutely imperative that you keep your collection well tagged. I have a rule that nothing makes it into my main collection without first having its tags cleaned — that is, adding in artist, album artist, album, year, track numbers and titles, at least one genre, and the cover, at minimum.
There are a few ways to get this information: a fully manual method would involve a tagging program like mp3tag or — if you like iTunes, the iTunes tag editor — and your own knowledge (or a Google search). Alternatively, you can opt for an automatic method either involving an iTunes plugin (eg TuneUp for $30), or the super-detailed, fully tweakable, super-steep learning curved Musicbrainz Picard (be sure to read the getting started guide).
The general idea behind an automatic metadata tagger is that it takes any limited existing metadata, or a unique sound signature of the file, and searches an online database to fill in the blanks. They can be a very effective way of fixing a poorly tagged library, and the amount of information that Picard can assign is simply staggering. The advantage of thorough metadata is more than just being able to easily find what you’re looking for by browsing or searching for it; you can also use it to generate playlists based on specific criteria, such as new wave albums released through Sire Records between 1972-1982 — great for themed parties.
As you would expect, genres are rather important in making these playlists, so don’t be shy in applying multiple genres to songs (most tagging programs support adding multiple entries for certain tags, but make sure that your players of choice do so, too). For instance, broad genres like “electronic” can be handy when you want a large pool from which to create a shuffled playlist from, but more specific genres, like “house” can create a consistent mood at a party. And, if you’re really up on your niches, don’t be afraid to also start tagging genres like “microhouse” or even the country of origin or something like “happy” — there is no limit to how many genre tags can be applied to a track/album, and there is no harm in adding as many as you wish.
Listening to it
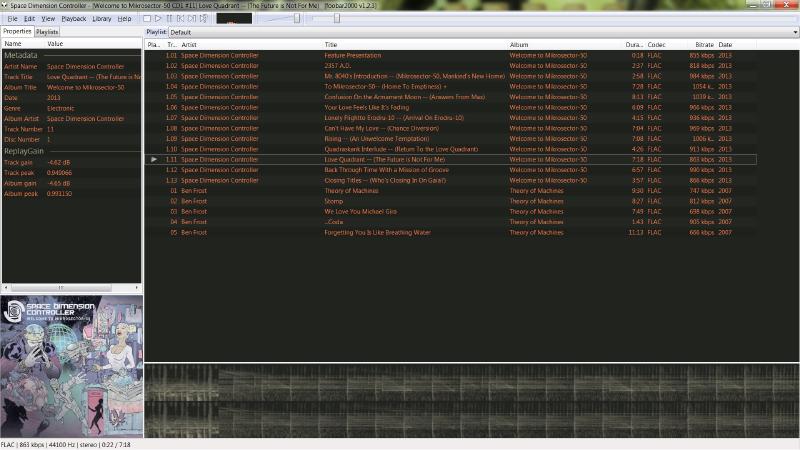
Now, for the important part: listening to your tunes. I listen to music on my PC through foobar2000, as it supports every format (those not natively supported can be added via plugins), including HD audio files, and has a customisable, functional interface. It can also rip CDs, and transcode (convert) music between formats. I hear iTunes is quite popular (heh), but it just doesn’t gel with me, so I avoid it completely.
If you are on iTunes, it’s possible to extend its functionality through the use of plugins. From notification windows, to better format support, to syncing with non-iDevices, plugins can fill some of its functional holes. A good place to start for iTunes plugins is itunes.pluginsworld.com [Ed: now a dead link] or visit klarita.net/itlt.html [Ed: squatted link, do not follow] for a handy toolkit.
If, like me, you spend a great deal of time sitting in front of your PC, it makes sense to have good quality speakers hooked up to it. Self-powered studio monitors (that is, speakers by another name) are a popular option, as they take up less desk-space than bookshelf speakers that require a separate amp — I use a set of Edirol monitors that sound great (although not mind-blowing). Their biggest strength is an in-built DAC (digital to analogue converter) with two digital inputs, as well as a separate analogue input.
For the best possible audio, it really is recommended that you use the digital output from your computer’s soundcard, rather than the analogue, as it’s less susceptible to noise from the internal components of your computer. The most pure solution is to purchase a good-quality external soundcard (or DAC with USB input), but this involves extra cash — at least $250 — which can be hard to justify when you may already have speakers with a digital input.
Music around the house #
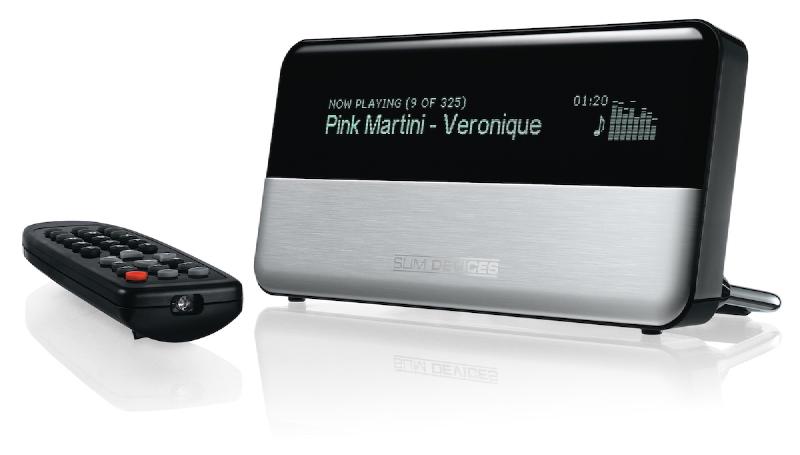
Music on your PC is fine, but you probably want to hear your tunes on your favourite Hi-Fi, and chances are that it’s not the one in your study. These days, there are nigh on a million (not actually) ways to get the tunes from your computer to your loungeroom.
These options usually come in the form of a device that connects to your home network. As far as I’m concerned, any network music device has a few base requirements: that it natively supports a lossless format; that you can use your smartphone or tablet to control playback; and that it supports a wide selection of internet streams, preferably via plugins created by an active development community (you can’t always trust the corporations to give you what you want).
The super bonus with smartphone/tablet app control is, if I’m swiping through my Facebook feed in the loungeroom and a friend of mine has posted a link to some mad-dope-crazy-phat beats, getting them to pump through my Hi-Fi is just a matter of copying the link to the clipboard and pasting it into the app.
Various plugins allow me to stream music from Spotify, Soundcloud, Bandcamp, or YouTube, as well as any of the fillion or so internet radio stations out there. And, if there’s a service out there that I don’t yet know of, chances are that there’s a user who’s created a plugin that supports it. This means that if a blog or friend posts a link to a tune that I want to hear, it’s a cinch to stream it to any room in the house.
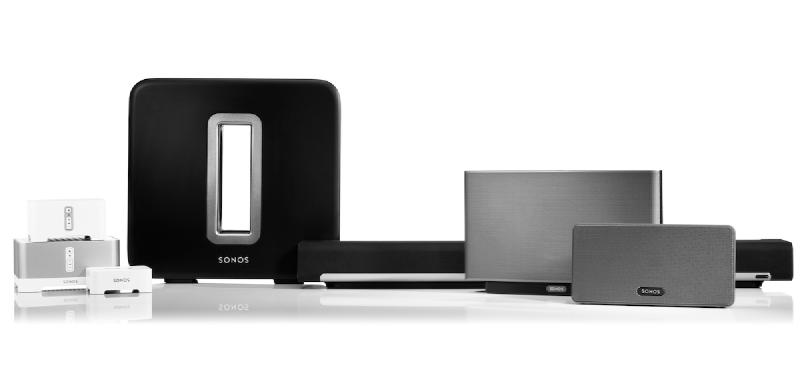
This is why I use Logitech Squeezeboxes (FKA SlimDevices) throughout my house, but, sadly, they are now discontinued. Sonos offer a comparable product, but at about twice the price, so perhaps search for some second-hand gear. [Ed: Logitech Squeezeboxes can now be emulated using Raspberry Pis, and the server has been taken over by the community and rebranded as Lyrion Music Server. I use Squeezeboxes throughout my house to this day!]
UPnP
Specialist equipment is expensive, however. Devices compatible with the UPnP standard offer a fairly simple (but basic) way to stream your music, and chances are that you have some compatible equipment, already — such as your PS3 or Xbox 360. If you don’t, there are many UPnP compatible devices out there, including higher-end models from Denon, Marantz, Cambridge Audio etc. that should give you a better quality audio output than the cheaper gear.
Alternatively, if you have, or see value in purchasing, a semi-decent DAC (digital to analogue converter) for your Hi-Fi, you can get away with using cheap streaming equipment hooked up to your DAC via a digital output. Semi-decent DACs start at around $300, though, so will only appeal to those with a few different digital sources, an analogue-only amp (my best Hi-Fi equipment is from the pre-digital age), and/or very discerning ears. The DACs inside most amps (if your amp has digital inputs, it has a DAC inside of it) are usually better quality than those inside most devices — although, not as good as external DACs — so using digital inputs is the preferred option for setups without external DACs.
Getting your music over to a UPnP device requires — for best effect — a little extra software. As expected, there are many choices available — some free, some paid. Popular options include: Asset UPnP (same developers as dBpoweramp); BubbleUPnPServer (supports internet access to your music from your Android phone or through Foobar2000); PS3 Media Server (which actually supports much more than just the PS3); and many others.
Asset UPnP is my preference, as it offers customisable browsing options, dynamic playlists, can stream internet radio from TuneIn Radio, will automatically transcode incompatible file types, and it can run on Windows Home Server, which will appeal to you if your NAS is powered by it.
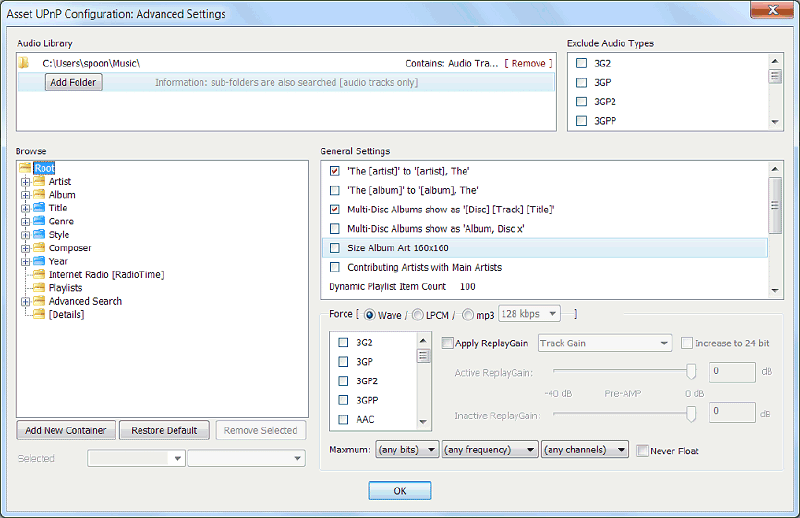
Assuming that you’ve now cleaned up the metadata in your library, UPnP streaming should just be a matter of pointing your UPnP server software to the directory that you store your music in. However, with Asset UPnP, I’d recommend taking a bit of time to control the way that your music is displayed and sorted on the playback device. You can learn more about this on the Asset UPnP page.
Unfortunately, however, UPnP doesn’t natively support premium streaming services like Spotify, MOG, etc. What you can do, though, is stream your computer’s audio out via Asset UPnP — meaning whatever sounds come out of your PC’s speakers can be sent to your loungeroom over UPnP. You can then use any of the countless smartphone apps designed to control your computer for an achievable — if inelegant — solution. AirPlay, Sonos, and Squeezebox players do have the edge here for their simplicity, though.
iTunes and AirPlay
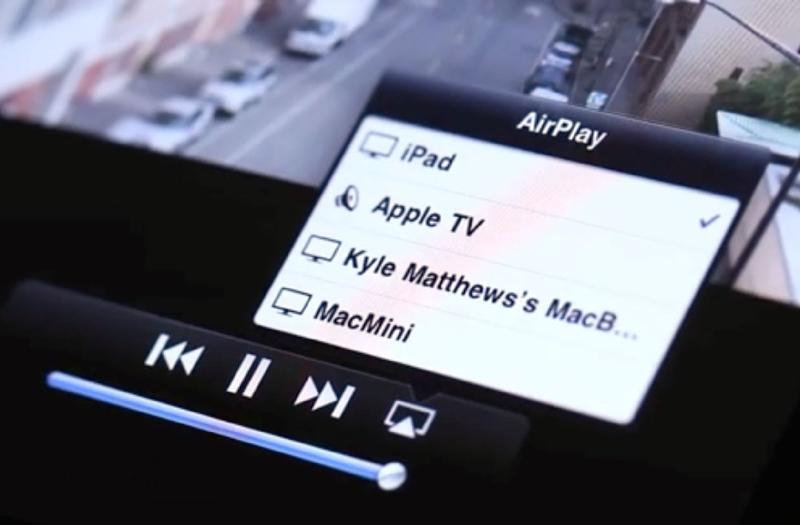
If you use iTunes to manage your music library, an Airport Express or AppleTV (or any AirPlay enabled device, of which there are now many) are well-priced, dead-simple solutions that you can control from iTunes, or with your iPhone, iPad, or iPod Touch — although, audio purists scoff at the quality of their audio outputs (this can be fixed on the Apple TV with the aforementioned external DAC, however). It’s just a matter of selecting your AirPlay device of choice from the AirPlay icon at bottom right-hand corner of iTunes, or in the ‘Remote’ app on your iOS device, and beginning playback as per normal. Android users may be pleased to hear that there are a few apps available on the Play Store that can control iTunes and AirPlay devices, with the most popular being ‘Remote for iTunes’ ($4.99).
Music while out n about #
The final part of your musical world is listening to music while you’re away from home. This comes in two forms: either via your smartphone; or a dedicated hardware player, such as an iPod.
Smartphones are great because they’re always on-hand, and you can store a portion of your collection on-board, while streaming the rest via Spotify, Google Music etc. To stream Spotify to a mobile requires a premium subscription, which currently runs at $12 per month. Personally, I love the service, but it’s not your only option. MOG/Bigpond, JB Hi-Fi Now, Rdio, and Deezer all offer decent streaming services that may even work on your network music player at home. Android users can use the free Google Music service to store (with a few cheeky workarounds for Australians) up to 20,000 songs in the cloud (which is likely enough for most). What I do, then, is use Spotify for my main music streaming, and then upload to Google Music any of the many obscure titles in my collection that don’t exist on Spotify.
If you’re using an iPhone, you’ll already be old-hat at loading up music through iTunes. However, if you’re an Android user, you have a few options. Double Twist and iSyncr are popular options to sync your iTunes library. Alternatively, you can just copy any music directories directly onto your phone, just like a USB drive. I then listen to my music through ‘Poweramp’ as it sports a decent interface. Plus it supports flac, if I don’t have time to transcode before copying it over. The remote apps I use for my Squeezeboxes (Orange Squeeze and Squeeze Commander) also allow me to download the album/song that I’m listening to, directly to my device, over Wi-Fi — which is pretty cool, I reckon.
If you don’t have a data plan large enough for frequent streaming, have a monstrous music collection, or are sick for lossless compression, you can always scoop up an 80GB 5.5 gen iPod video on eBay, which can run the iTunes-free alternative, open source firmware, Rockbox. If you want to go mega-deep, you can also upgrade this iPod’s hard drive — I run Rockbox and a 240GB one in mine, for instance. Audio purists will be pleased to know that that particular model also has the (perceived) highest quality headphone output of any iPod model, but is also compatible with line out cables (around $15 on eBay, and they just plug into the dock connector), for use with an external headphone amp.
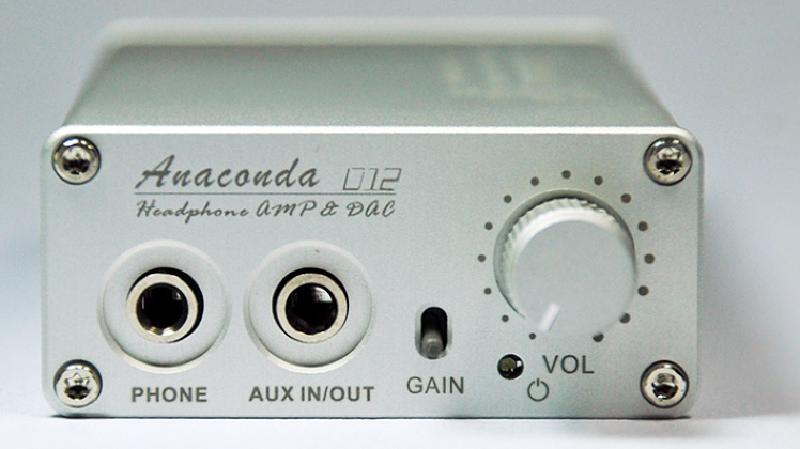
A what, you ask? Well, just like speakers, headphones require an amp to drive them, and the more power that amp delivers, the better sound you’ll get — even at lower volumes. Unfortunately, the amps that are built into most devices aren’t very powerful, and — more importantly — aren’t very transparent, meaning that they alter the sound. A line out on a device, however, provides a signal that isn’t altered by the in-built amp, but isn’t powerful enough to drive your headphones. You can then run this clean signal to a battery-operated headphone amp, which will do a much better job of amplifying it than your tiny little device can. If you’re after the very best headphone experience possible, you should really consider amplification. If this is a path that interests you, the head-fi.org forums are a good place to learn more. Those who use stock earbuds need not bother.