

Surround systems need tweaking before they work properly
It breaks my heart to think of all the surround sound systems in Australia that consist of 5 or 7 speakers piled in front of a screen. Sound plays a really important part in creating immersion in a movie, and if you’ve gone and dropped a few $K on a shiny new HD (or more) panel, it seems a cryin’ shame not to make your viewing experience that much more cinema-like by properly setting up the sound system.
Of course, you may not be guilty of front-row speaker stacking, but perhaps you’ve not set up your surround system to its optimum state. Let’s fix that.
Placing the speakers #
The first and most obvious task in setting up your surround system (after connecting the cables, of course) is to place each speaker in its optimum location.
The two most common surround sound systems are known as ‘5.1’ and ‘7.1’. A 5.1 system is made up of three front speakers (left, right, centre), two rear speakers (left, right), and a subwoofer. A 7.1 system adds two more speakers in the rear (ahem).
However, there are also some other wacky, specialised set ups, such as 9.1 (two more elevated speakers up the front), and 11.2 (where you set your money on fire and throw it around the room because it means nothing to you). For full effect, the movie that you’re watching should explicitly support the type of surround system that you use, and you’ll find that almost all support 5.1, many others 7.1, and but a scant few anything above. [Ed: these were the days before Dolby Atmos, which is a very, very clever way of handling different surround sound layouts]
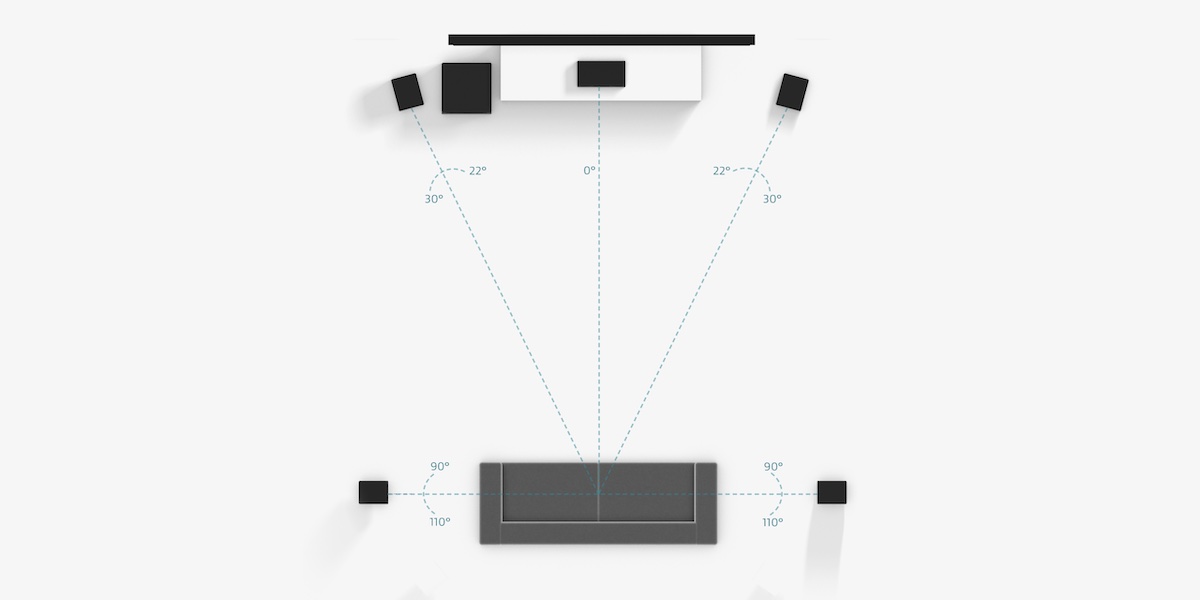
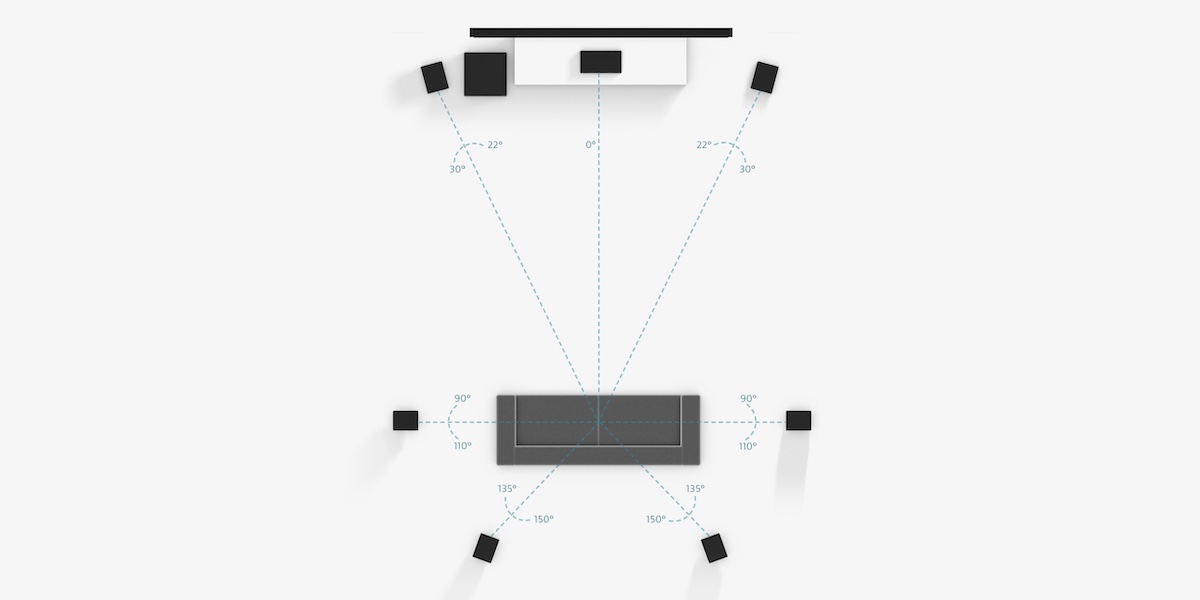
Left: A 5.1 speaker set up. Right: A 7.1 speaker set up. Images courtesy of Dolby Laboratories.
Before we get to actually placing the speakers, there are a few general speaker placement principles that you should be aware of (if you read my May 2014 stereo speaker placement guide, then this will not be news to you).
Sound transmission is affected by objects, so keep a clear line-of-sight between your ears and your speakers. Further to this, hard objects (wooden or tiled floors, coffee tables, walls) will reflect sound, adding in perceptible reverb and muddying your ‘image.’ If you have wooden or tiled floors, I absolutely recommend placing a thick rug between you and your speakers. If you’re really determined, you may also consider heavy curtains (or special wall treatments or panels) behind your speakers, to prevent unwanted sound reflections. You should also be aware that a hard coffee table in front of your couch will not only degrade your audio quality, but is also less comfortable to rest your feet on than a pouffe or footstool. Just sayin’.
Also, speakers don’t work well when they’re right up against a wall or in a corner. Doing so will create overly boomy bass, and affect the soundstage (where the sounds appear to come from). Speakers are generally happiest at least 30-60cm from a rear wall, but your speaker manual may say otherwise.
You should also keep your speakers a similar distance from your side walls, too. Note that I said similar distance: having your speakers the same distance away from both a side wall and the rear wall will actually degrade the sound, so make sure the distances differ, but that both fall within about 30-150cm.
One other consideration with setting up your speakers is their recommended toe-in. Toe-in is the angle that your speakers sit at. It’s generally recommended to angle your speakers toward the listener, but this isn’t appropriate for some speakers. Again, read the manual of your speakers to be sure.

Now that you have those restrictions in mind, let’s place your front speakers.
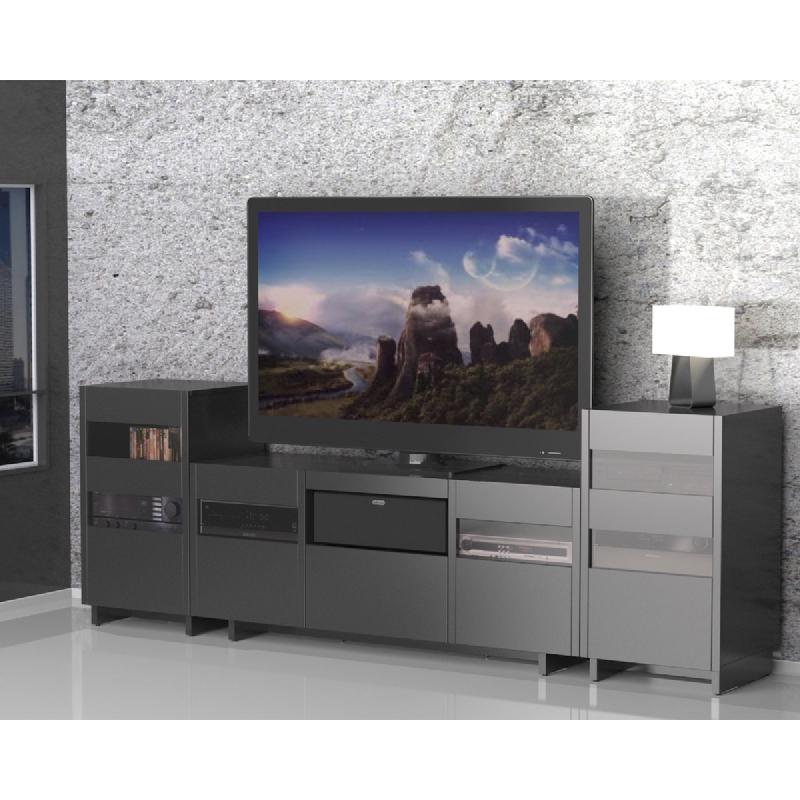
The centre speaker should sit directly in front of your seating position, either under or above your TV. It’s important to have it as close to your screen as possible, as the centre speaker is responsible for the output of dialogue – if it’s too far away, you’ll end up feeling that the protagonist is actually part of an international ventriloquy cabal, rather than just a man in a bat costume.
It’s probably tempting to place the speaker into that neat little nook on the front of your entertainment unit, but doing so will inflate the volume of the speaker, and make voices sound like they’re coming through cupped hands. If your interior decorator insists that the centre speaker must be discreetly placed, then place it in the unit as far forward as possible, making it flush with – or a little over – the edge.
As you can’t place the centre speaker at ear-height – because it would be in the middle of your screen – you should angle the speaker toward your ears. There are special foam speaker angler thingoes available to do this, but you can just as easily opt for a couple of rubber door stops.
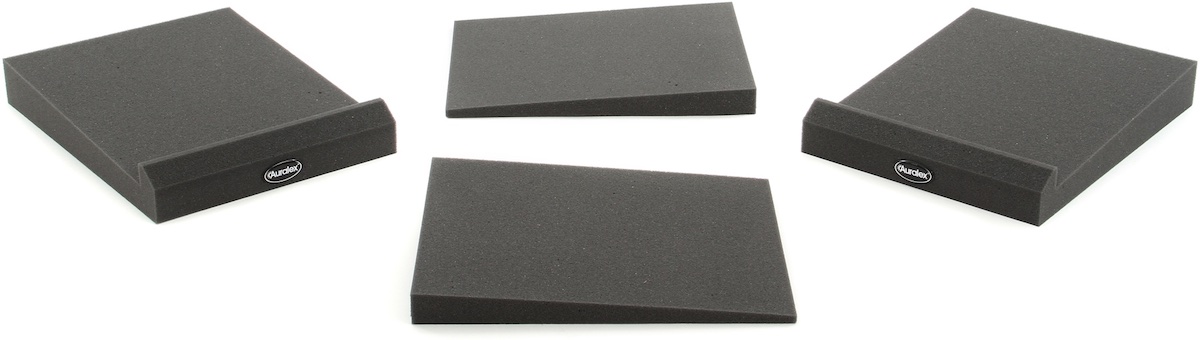

There are high-tech ways to angle your centre speaker, such as the Auralex Mopad… or low-tech ways, such as a rubber door stop.
The left and right front speakers should be placed, according to Dolby and THX, between 22 and 30 degrees from the centre channel, relative to your seating position. The folk over at Audioholics reckon that many speakers benefit from being a little closer than that, though, so recommend placing them between about 17 and 30 degrees.
To get the angles and distances right, I cut a piece of string the length between the tip of my nose and the middle of the centre speaker, then – using a protractor and a nearby helping hand – I angle the taut string within the desired range, and place the speaker there, facing towards me (unless your manual recommends a different toe-in), and at ear-level. This way, you keep the distances between each of your speakers even, which means less digital compensation during calibration.
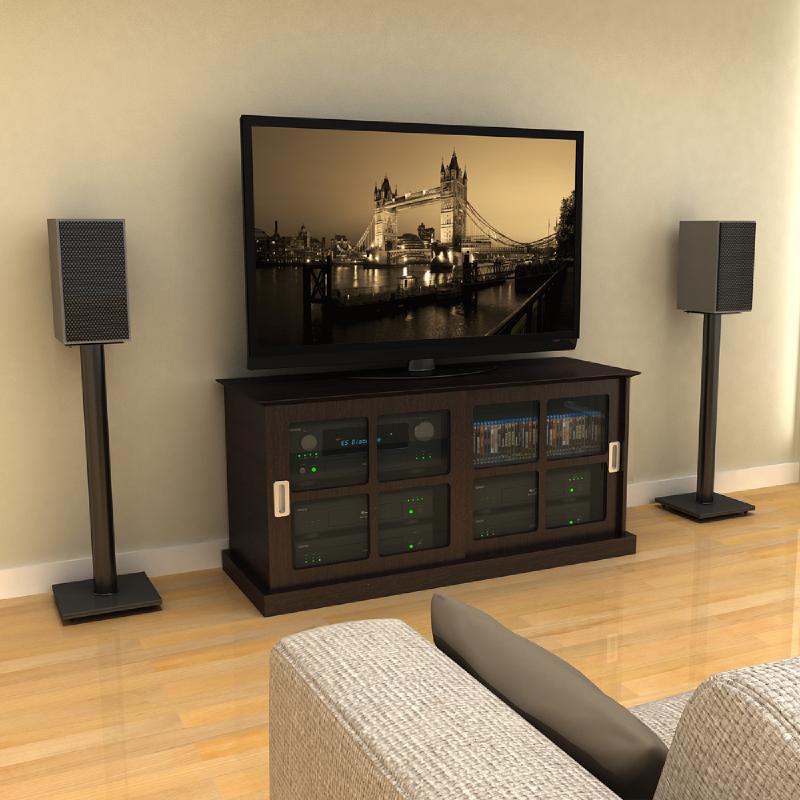
Keeping all your speakers at the same distance will place them along an arc, rather than a straight line. If physical constraints (or that same interior designer) prevent this from happening: you can keep them in-line with your entertainment unit and compensate for the difference in distance during calibration.
Next up are your rear speakers.
For 5.1 systems, the two rear speakers should lie between 90 and 110 degrees to each side of the listener, and between 60 and 90cm above ear-level, so as to make their sounds more ambient than directional. I prefer mine sitting a little behind me, closer to the 110 degree mark, but if you have a 7.1 system you may want them closer to 90 degrees.
For 7.1 rear channel speakers, you need to place the extra two speakers between 135 and 150 degrees from your seating position, at the same height and distance as the other two rears.
Placing your subwoofer #
You may have heard that, because you can’t sense the direction that low frequencies are coming from, subwoofers can be placed anywhere in your room. This isn’t true, as – like with any other speaker – placing a subwoofer in a corner of a room will excessively amplify the bass. Even if you don’t place your subwoofer in the corner, you can still get unwanted reflections from other objects in the room. You could test the placement of your subwoofer by gradually moving the box around the room, but there is actually an easier – if a little sillier – way.
Place your subwoofer in your listening position (making sure not to cover the speaker or any ports), as close to ear-height as possible, and then put on some bassy music and crawl around the room (at about the height of your subwoofer) listening for a convenient spot the subwoofer can fit, but where the bass sounds consistent, well defined, and punchy. Even a movement of about 10cm can make a difference, so be sure to bob your head about. Once you’ve found a spot or two, mark them off with chalk or tape, then move the subwoofer there and see how they compare when you’re sitting where you should be.
Subwoofer phase
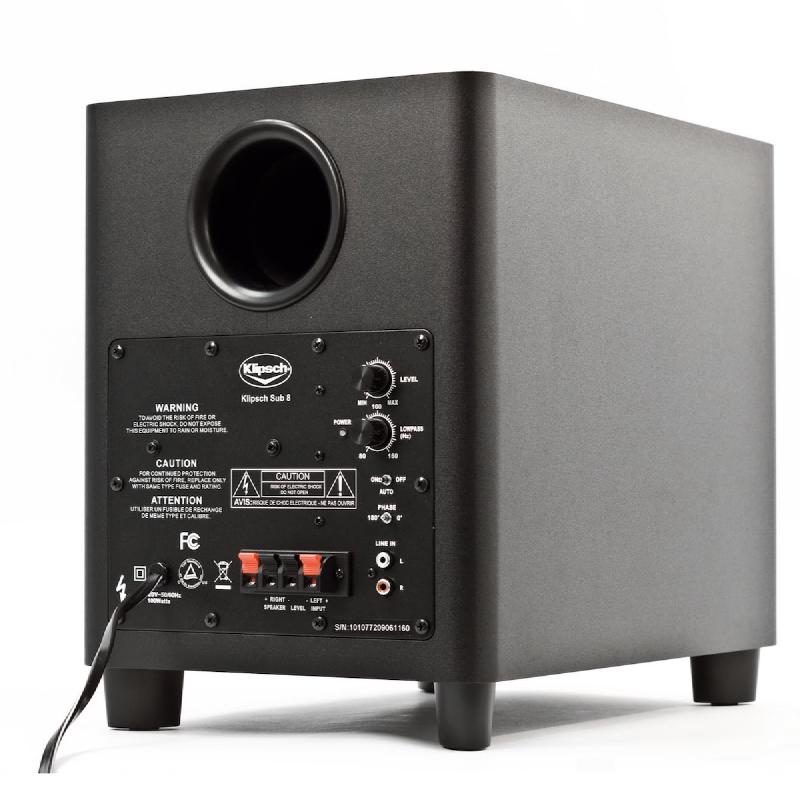
The phase dial (or switch) on your subwoofer is there to make sure that your subwoofer’s driver is moving in the same direction and at the same time as your speakers’ drivers. To set it, sit in your sweet spot, put on some bassy music (or better yet, a sine wave tone at the frequency of your crossover), and get someone to move it from one extreme to the other. The setting with the strongest bass is the correct one, even if the bass seems too strong; you compensate for excessive bass using the subwoofer’s volume control, not the phase dial.
Calibration #
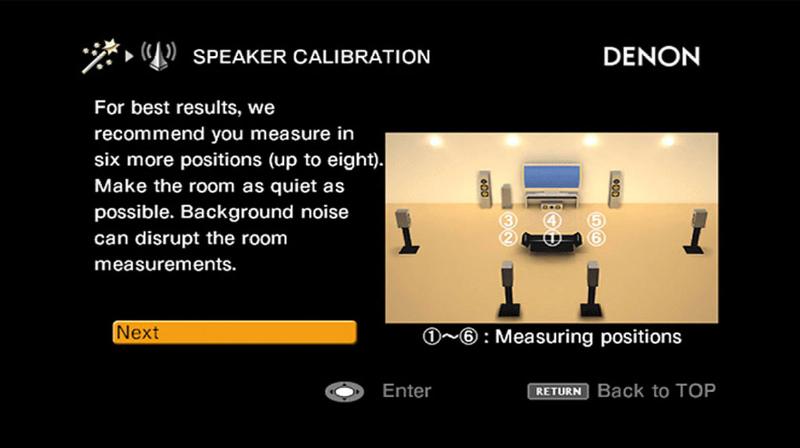
Most surround sound receivers/amplifiers these days come with an in-built calibration program and a bundled microphone. These aren’t just gimmicks: they measure how your room and speaker placement affects the expected output of your speakers, and then makes adjustments to compensate.
Obviously, the calibration process will differ from model to model, so consult your manual to see how to start this process.
Before running the calibration program, however, you should first find the menu where you can enter the distance for each of your speakers – this is where you can compensate for any limitations you encountered when placing your speakers. Measure the distance from the centre top of each speaker to your nose when sitting in your preferred seating position.
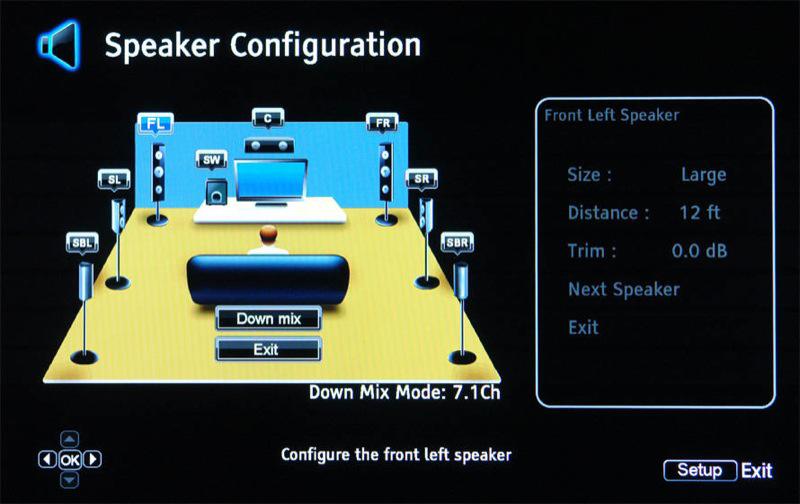
You should also set up the crossover for your speakers/subwoofer. It’s generally recommended to hand the bass over to the speaker that can best handle it: the subwoofer. When using your receiver to handle crossovers, you need to set the crossover dial on your subwoofer as high as it can go. Then, from your receiver setup menu, set the crossover to a value higher than your speakers’ lowest rated response at +/- 3dB. If you can’t find this value on the specifications page of your manual, you’re better off setting the crossover too high than too low. A good rule of thumb is 80Hz for speakers with 6" or larger drivers, 100-120Hz for 4-6", and 150-200Hz for smaller than 4".
Next, run the automatic calibration. To get the most out of the calibration program, you should mount the microphone at ear height in your preferred seating position (it’s best to do this with a tripod, if possible), then leave the room when the calibration program runs, so as not to cause any interference.
DSPs
Many receivers come with several DSP (Digital Signal Processing) modes that can tweak the signal to make it sound like you’re listening to the music in a different environment, such as a famous concert hall or your nan’s garage. I’m yet to meet anyone that enjoys such effects, so I usually disable them by default. There is one DSP that may be useful, however: night mode, which makes the dialogue easier to hear at low volumes, and prevents any loud noises from waking your bubba.
If your receiver doesn’t support automatic calibration, you can calibrate the individual volumes of each speaker manually by using your own SPL meter (there are smartphone apps available, but a dedicated one is recommended; see if you can borrow one off a friend, or grab one of eBay for <$100).
Place the SPL meter at ear-height at your seating position, pointing up to the ceiling. If your SPL meter offers tuning settings, set the speed to ‘slow’, the compensation to ‘c-weighted’, and the range adjustment to one that includes 75dB.
Next, enter the calibration menu on your receiver that allows you to set volume level for each speaker, and play a ‘pink noise’ tone through each speaker, one at a time (if you can’t do this through the set up menu, you can download pink noise here). Start with the centre speaker, and turn the volume knob so that the meter reads 75dB. Then, as you play the tone through each other speaker, adjust the volume compensation level in the setup menu so that the meter sits at 75dB for each speaker. When doing this for your subwoofer, use the volume dial found on its back.
You’re best off spreading the compensation evenly between ‘cutting’ and ‘boosting’ the signals. For example, if your centre channel requires a +10dB boost to reach 75dB, you’re best off only giving it a +5dB boost, and all of the other speakers a cut of -5dB. Pro tip: if you have trouble discerning dialogue during movies, try boosting the centre channel by 1 or 2dB.
Now that everything has been set up and tuned, it’s time to turn it up and run a sound demo. Just about every THX certified disc comes with a sound demo that will make your spine tingle, but if you don’t have one of those, you can just as easily download one from http://www.demo-world.eu/trailers/high-definition-trailers.php. [Ed: dead link]
Note your settings!
Both before and after you’ve tweaked your setup to perfection, you may want to write down the values of the settings so that you can a) compare the tweaks, and b) recover them if your snotty nephew decides to come in and ‘fix’ them at a later date.