

Home theatres just aren’t home theatres without a projector
There’s nothing quite like a home theatre with a projector. Not only do projectors allow truly immersive (and impressive!) screen sizes, but modern projectors can produce black levels and contrast ratios that are actually better than plasma or LCD panels. And, as the old adage goes: you haven’t truly gamed until you’ve gamed on a 100" screen.
Ok, it’s not a real adage, but it should be. My point is that projectors are damn cool, and you should consider one in lieu of your next TV purchase. However, before you make the switch to a proper home theatre, there are a few considerations to be made before even looking at projector models.
Ancillary costs #
Obviously, you’re aware that you’re going to have to spend some cash on the projector unit, but you need to keep in mind that it isn’t the only cost here. You’ll also need to factor in the cost of:
A screen – I’ll get to why a screen is worth the money soon, but they start at about $300 for a basic-but-good 80" pull-down screen, $700 or more for 100+" mid-range fixed screen, or all the way up to a top o’ the line $2000+ 120" model (they go larger still, if you have the room), with many stops in between.
A ceiling mount – Expect to pay $200+ for a good one. The $30 eBay jobs are difficult to adjust (making a straight image harder to achieve), and often require regular re-adjustments, so may not be worth your time. Alternatively, you can opt for a bookcase up the back of the room.
Replacement lamps – The light source in your projector only has a limited life, and when it goes – after a few thousand hours, which can be as frequently as annually for serious cinema buffs or binge TV show watchers – you’ll need to fork out $200-$500, depending on your model.
Cables – As your projector won’t be sitting near your video source, you’ll need a long HDMI cable. To minimise cable clutter, I recommend routing everything through your home theatre receiver, and hooking the projector up to its HDMI out. Long HDMI cables (10m or more) are available from China for about $30 including shipping, and will deliver the exact same signal as $300+ cables.
A TV tuner – Projectors don’t include free-to-air TV tuners, so, if you’re a Master Chef fan, you’ll need to purchase an external DTV box, or pick it up through pay TV.
Additionally, if you hope to watch anything during the day, you’re going to have to block out almost all outside light. Some screens can help decrease the effect of ambient light, but your picture will always look best in the dark, so get handy with some garbage bags and gaffer tape (or, for the more practical, removable Velcro or clip-in panels).
Choosing a projector #
There are three main projector technologies available in the home theatre market: DLP, LCD, and LCoS, each with their own strengths and weaknesses.
DLP, or Digital Light Processing, is the type used in most actual theatres, so speaks of the quality that it can achieve. DLP works by shining light through a spinning colour wheel, which changes the light to red, green, blue, or white, depending on the colour wheel’s position. The coloured light then shines onto a chip that directs each pixel either out through the lens, or to a ’light sink’. High-end DLP projectors (like those found in theatres) actually do away with the colour wheel, and break the light into red, green, and blue before shining it onto three separate DLP chips.
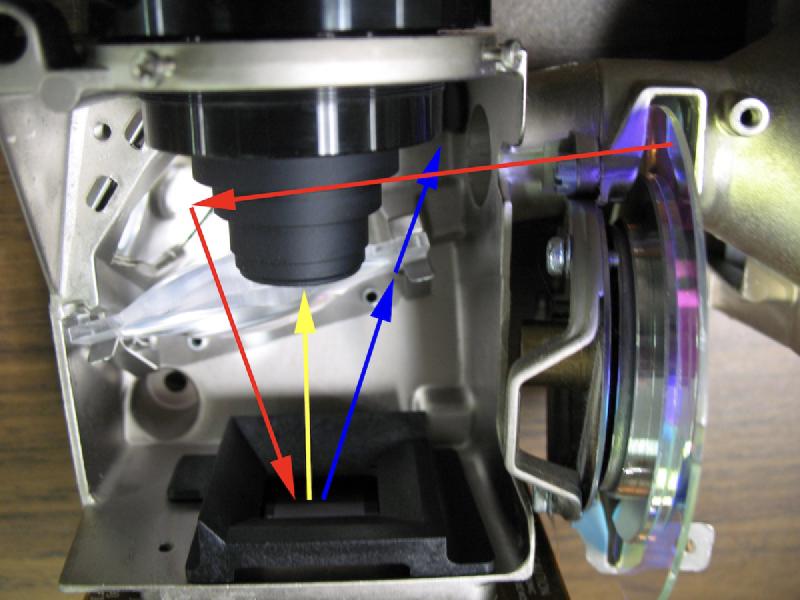
DLP performs best in ‘motion resolution’ – how sharp an image remains as it moves – but can be outperformed when it comes to black levels and contrast ratios.
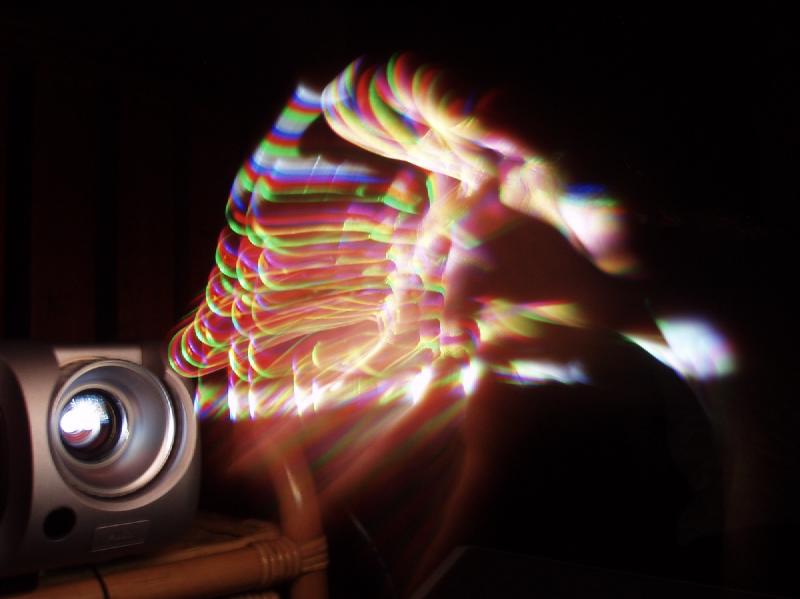
Single-chip DLP projectors (those with colour wheels), especially cheaper ones, can also suffer from a ‘rainbow effect’ in high-contrast, high-movement scenes (car headlights, for instance), but newer models mitigate this with faster colour wheels. However, not everyone can notice the rainbows, so it’s worth seeing a demonstration of any given model before you commit to a purchase.
LCD, or Liquid Crystal Display, is more or less the same technology used in computer monitors and TVs. The lamp shines the light through three tiny LCD panels – red, green, and blue – after which the image is recombined and magnified through the lens of the projector.
LCD’s biggest strength is its price: they are generally cheaper than the other technologies, but even though the images are much better than they were a few years ago, they can’t match the $10k+ high-end DLP or LCoS systems. In the low- and mid-ranges, however, they are definitely worth considering.
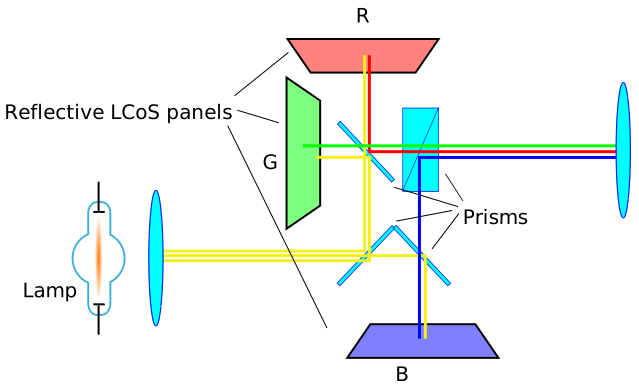
LCoS, or Liquid Crystal on Silicon, is like a hybrid between DLP and LCD. It uses three reflective surfaces each covered by a coloured LCD (red, green, or blue) which either completely blocks light for a given pixel, or reflects it out to the lens. As an interesting side note, Google Glass uses a form of LCoS for its display.
LCoS projectors have stunning contrast ratios – better than even plasma or LCD TVs – and equally impressive black levels, but can’t get quite as bright as DLP or LCD projectors. However, all three technologies will produce light levels suitable to create screens larger than 100 inches, which is, frankly, huge. LCoS is generally held to be the best of the bunch, but may not be suitable for your budget. The two notable manufacturers of LCoS projectors are Sony (its SXRD range) and JVC (D-ILA).
However, it’s impossible to recommend a device on its technology alone. To get an idea of how the models compete, you need to look at their spec sheets, and – most preferably – see them in action.
Deciphering the spec sheet #
When looking at projectors, the three main specs to consider are:
The contrast ratio – the difference between the darkest black and brightest white that can be produced by the projector – is perhaps the most noticeable factor in perceived image quality. Unfortunately, there is no standard for measuring contrast ratio, so quoted specs are inconsistent at best, and outright fabrications at worst. This leaves you in a difficult position to make informed decisions. Only compare ‘static’ or ’native’ contrast ratio, rather than ‘dynamic’, and find review sites that measure it themselves.
The brightness of a projector will affect your use in two ways: most obviously, it determines how much ambient light can be present when you’re watching something. So, if you’re into daytime soaps and can’t tape garbage bags to your windows, a brighter projector can make your viewing a little more enjoyable – as can a special (but expensive) screen. Brightness also determines how big your screen can be but, these days, almost all projectors support screens larger than most rooms.
Resolution – 4K projectors are becoming a thing, and while 4K is probably beneficial to projectors (TVs aren’t really large enough to give a perceptible improvement over HD when sitting on your couch), there’s almost no content outside of trailers and demo reels, and no real delivery method for lengthy content. In short: just go 1080p. [Ed: obvs. this advice has now changed…]
Choosing a screen #
It’s common to think that using a white wall will be good enough to shine a projector onto, but the difference between a painted wall and a proper screen is huge. Painted walls lend a texture to the image (no matter how good you are with a roller), and colours are neither accurate nor poppin’. I really recommend budgeting a few hundred dollars (or more) for a good quality screen, rather than opting for a tin of Dulux.
Fixed vs. roll-up – You also have to make the choice between a fixed screen or a roll-up one. Fixed offer a better picture (as the surface is flat), but cost more, and have to sit there in bold blandness when the projector isn’t in use. If you (and your significant other) don’t mind having a screen permanently on display, get yourself a fixie.
Screen gain – ‘Ultra high gain’ screens (a gain value of >2.0) can milk out a little extra brightness from your projector’s lamp at the cost of image accuracy, but projectors these days are bright enough that the drawbacks greatly outweigh the benefits. There are also ’negative gain’ screens (gain of <1.0) that offer better black levels, but – likewise – negative gain screens don’t offer worthy benefits for current models.
Screen size – The biggest and most obvious consideration when selecting a screen, however, is its size. Surprisingly, you shouldn’t just select a screen size based on your available wall space, as it’s possible to go too big (ever noticed how the front seats at cinemas are always empty?).
Thankfully, there is an established rule of thumb to quickly determine a comfortable screen size based on how far back you’ll be sitting: the screen can be no wider than half the distance to the nearest person. To put it another way, the closest you can comfortably sit from the screen is 2x its width (incidentally, the furthest you will want to sit is 6x the screen width). So, if you’re itching for a jumbo 115" screen (~2.5m wide at 16:9), then you should place your couch at least 5m back from it.
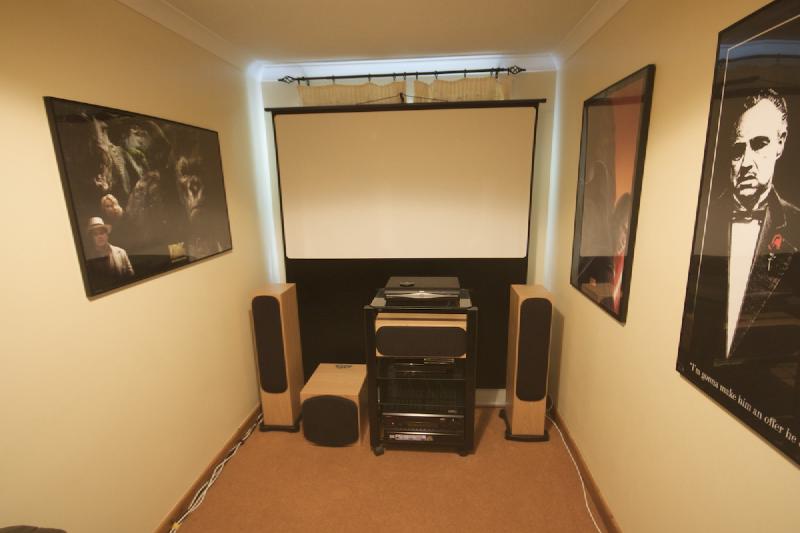
Aspect ratio – Once you know your maximum comfortable screen width, you can decide on your preferred aspect ratio – the ratio of width to height of the screen. It really comes down to either 16:9 aka ‘widescreen’ (many movies, contemporary TV shows), 16:10 (which is really only for data), or the cinematic 2.40:1 (extra wide format for big-budget movies). Each format can be shown on any screen, but 16:9 screens will have black bars top and bottom on extra wide movies, and 2.40:1 screens will have black bars on the sides for TV shows, video games, and widescreen movies. It just comes down to where and when you want your bars.
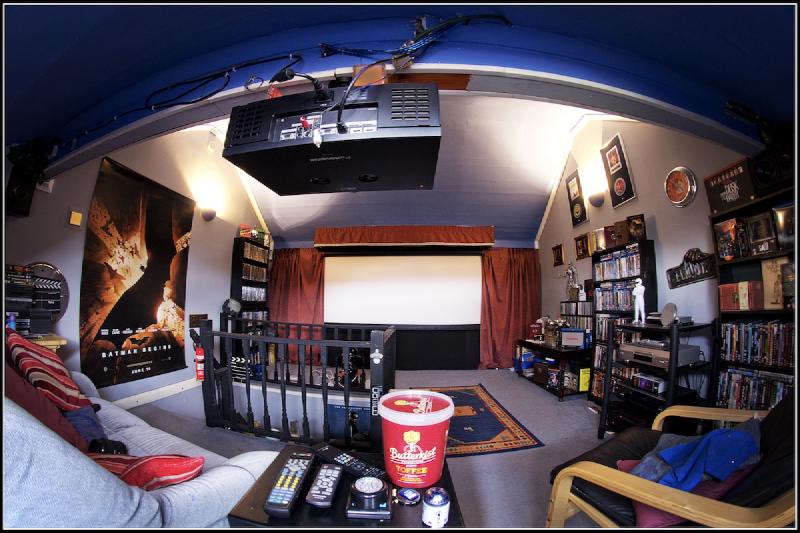
Screen and projector placement – The height of the screen from the floor also requires careful consideration; after all, you don’t want to cause neck strain during the next Geordie Shore marathon. It’s a good idea to have the screen between 60 and 90cm from the floor, but this may have to change given technical limitations of your projector or other considerations, including placement of your centre speaker or the need to avoid shadows cast by light fittings or people playing Wii (U) or Kinect games. I recommend marking off the screen size and watching a few movies on the bare wall to test comfort before permanently mounting your screen.
You also need to check that your projector can handle your chosen screen size, given where it has to be mounted. Almost every projector on the market today should handle any screen size, but to be sure, you should look up the ’throw distance’ (or, more likely, ’throw ratio’) of your chosen model. You then multiply those numbers by the width of your screen to find out how far back the projector has to be mounted.
For instance, if your screen is 2.5m wide, and your projector’s throw distance is 1.25-2.5, then your projector must be mounted between 3.125m and 6.25m from the screen. The closer the projector is to the screen, the dimmer it can be set, which extends lamp life. Try and mount it as close as possible while keeping in mind that some projectors have loud fans that you won’t want near your seating position.
Almost all projectors offer horizontal shift/offset settings that allow you to adjust the image so that it doesn’t look distorted when you can’t mount the projector ‘dead centre’ to the screen. Similarly, vertical offset settings allow you to mount the projector at various heights, which can help you in avoiding shadows caused by light fittings etc.
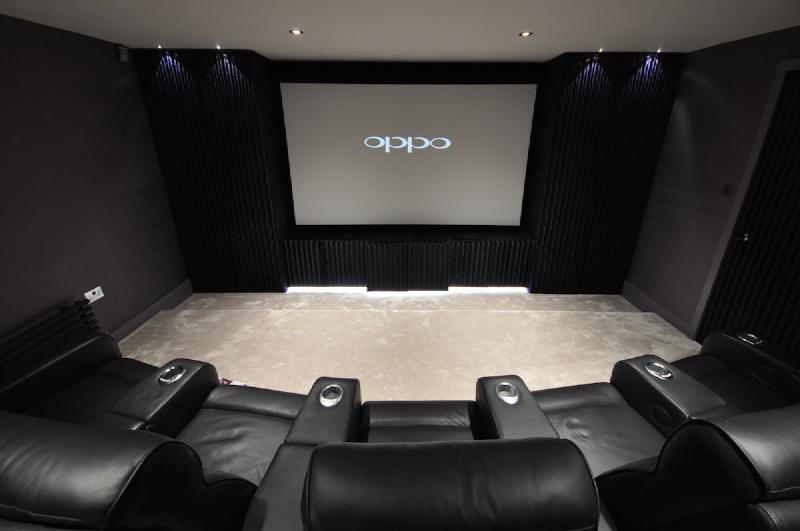
Mounting your projector
There are myriad conditions that need consideration when positioning your projector, including: availability of beams in the ceiling/shelf space; its distance from power and movie sources (you’ll need to run cables to your projector, after all); the technical limitations of the projector, including its throw distance, vertical offset, and lens shift; and the presence of any light fixtures or other beam obstructions.
In fact, there’s too much to cover here, so, for a thorough guide to mounting your screen and projector, I recommend reading Cliff Heyne’s guide How to Install a Home Theater Projector and Screen from Start to Finish over at Audioholics.
Improving your room
Given that projectors work best with minimal ambient light, your room will actually play a significant role in the quality of your image. From painting the walls dark colours, to mounting black velvet around the sides of your screen, much can be done to improve your room. A few great options are outlined at
http://www.avforums.com/forums/projectors/907414-maximising-image-contrast.html.[Ed: dead link. Go Google some tips instead…]