Experienced writer & communicator - from GIS, science, and sustainability, to apps, entertainment, and hi-fi. Enthusiastic photographer and science nerd.
Subwoofers – those wooden cubes tasked with producing the lowest of the frequencies – are the exclamation marks of the audio world: they turn ‘boom’ into ‘boom!’
Adding a sub to your system will increase the dramatic effect of all the really exciting scenes in movies, and will bring extra oomph to your music – whether it’s Miles Davis or Machinedrum.
If you followed my previous advice on buying a home theatre incrementally – that is, buying the most expensive front speakers you can afford, paired with a semi-decent receiver – you may now be saving up for the next step in the upgrade: the sub. Or perhaps you’re just keen to get a bit more bass into your existing stereo system. Regardless of your circumstance, subwoofers are surprisingly tricky to get right, but really rewarding when you do.
So let’s get started on finding, connecting, and configuring one that works for you.
The main consideration you need to make when choosing a subwoofer is the size of the room that it will go in – larger rooms need larger subs. However, just because you have a small room doesn’t mean that you should shy away from a big sub; a 1000w sub can be just as subtle as a 150w sub – after all, they come with volume control – but the 1000w will almost undoubtedly produce better bass turned down low than the 150w turned up high. So, for future proofing, you should consider buying the biggest sub you can afford.
There are two specs that roughly define the punch that a sub can deliver – driver size (measured in inches) and amplifier output (aka power, measured in watts).
As a general rule, the size of a driver reflects how deep the bass can go. The big daddy 15" and above drivers can even push out bass that is below the threshold of human hearing (approx. 20Hz), meaning that you don’t so much hear the bass as feel it. Note that most music will never go this low: it’s really just for movies. However, the lower the note, the harder it is to create, so the more power is required to get there. This translates to big dollars – expect thousands. The kicker here is that you may just be better off buying two smaller subs, rather than one big one.
ALL the subwoofers!
Now, you needn’t stick to just a single sub; running two (or even four!) well-placed subs in a system can create more uniform bass across the whole room, expanding your ‘sweet spot’ – which can be a boon for large home theatres. However, given limited budgets, it’s hard to decide if you should drop your dollars on one large sub or a number of smaller ones. Thankfully, Brent Butterworth at Sound and Vision has created a fairly detailed article on multiple subs here.
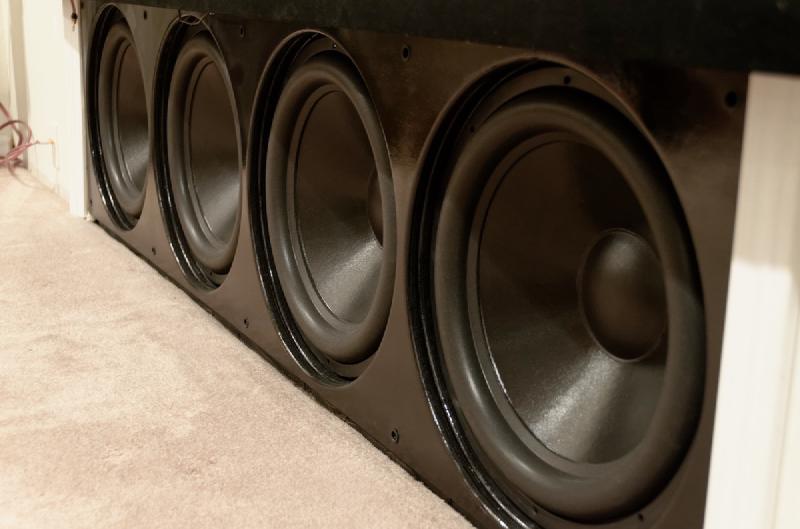
Sometimes you can get carried away adding subs, like this 4x18" 4000w ‘infinite baffle’ style subwoofer built by blu-ray.com forum member bdlitzer.
Now, while big deep bass notes need big drivers and big power behind them, small subs can still go loud and low, but require more power than a larger sub to produce the same deepness and volume, adding to the cost. While I’d recommend something larger, this can be useful information for households concerned with aesthetics.
Now, before deciding on a sub, you should also take a look at its spec sheet to see just how low it can go, then compare this to your main speakers. My floor standing speakers happily go down to 42Hz, so buying a sub that only goes down to 35Hz isn’t really worth the money. If, however, your bookshelf speakers only go down to 70Hz, then such a small sub will provide a noticeable difference.
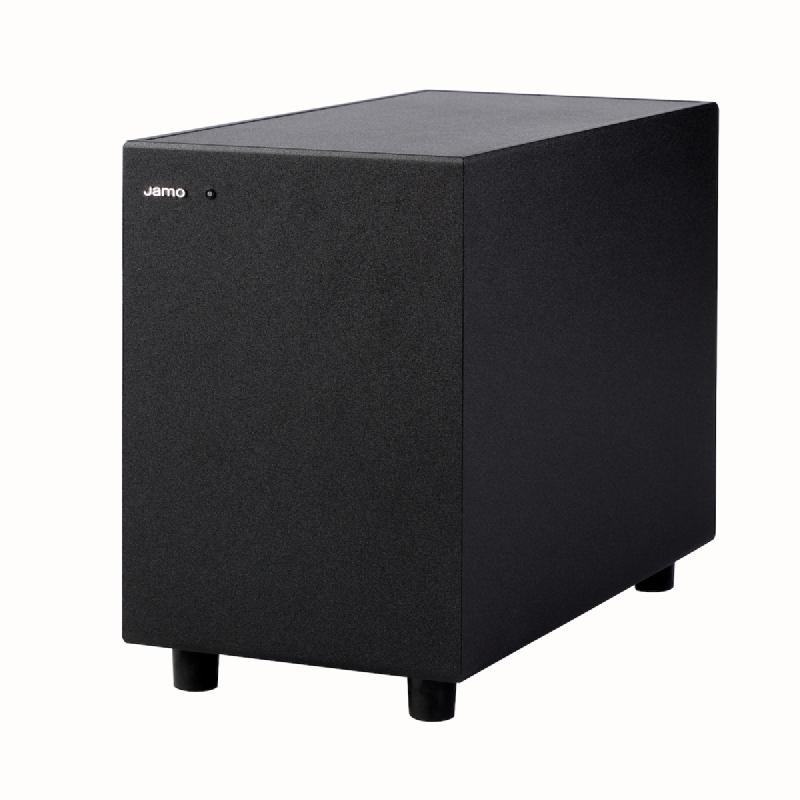
Small subs, like this $500 Jamo SUB200, only go down to about 40Hz, so are only recommended for use with small speakers.
Don’t be concerned if the sub is down-firing or front-firing, ported (aka bass reflex) or sealed (aka acoustically suspended) – no one style is superior to any other, and it’s more a concern for the engineer designing the sub than it is for the end user. It may be worth noting, however, that sealed subs require more power for a given volume than ported subs, and ported subs require a bit more design prowess to provide as accurate a sound as sealed ones.
Now, as usual, if you’re facing the choice between a big booming sub from an unknown company vs a smaller sub from a reputable brand, I’d choose the brand. It’s quite likely that the cheap one won’t a) live up to the specs it promises, b) last very long if you push it very hard, and c) be harder to set up, as it probably won’t have a lot of the connection and calibration controls you’ll need. Notable brands include (in no particular order): Dayton Audio (great value), Velodyne, Klipsch, REL, Paradigm, Yamaha, B&W, SVS (excellent compact subs), JL Audio, and PSB.
To sum up: you’ll need a big sub for a big room or to best complement your floor-standing speakers, while a smaller sub is ok if you have bookshelves or a small room; avoid obscure fly-by-night brands; and buy as big as you can afford.
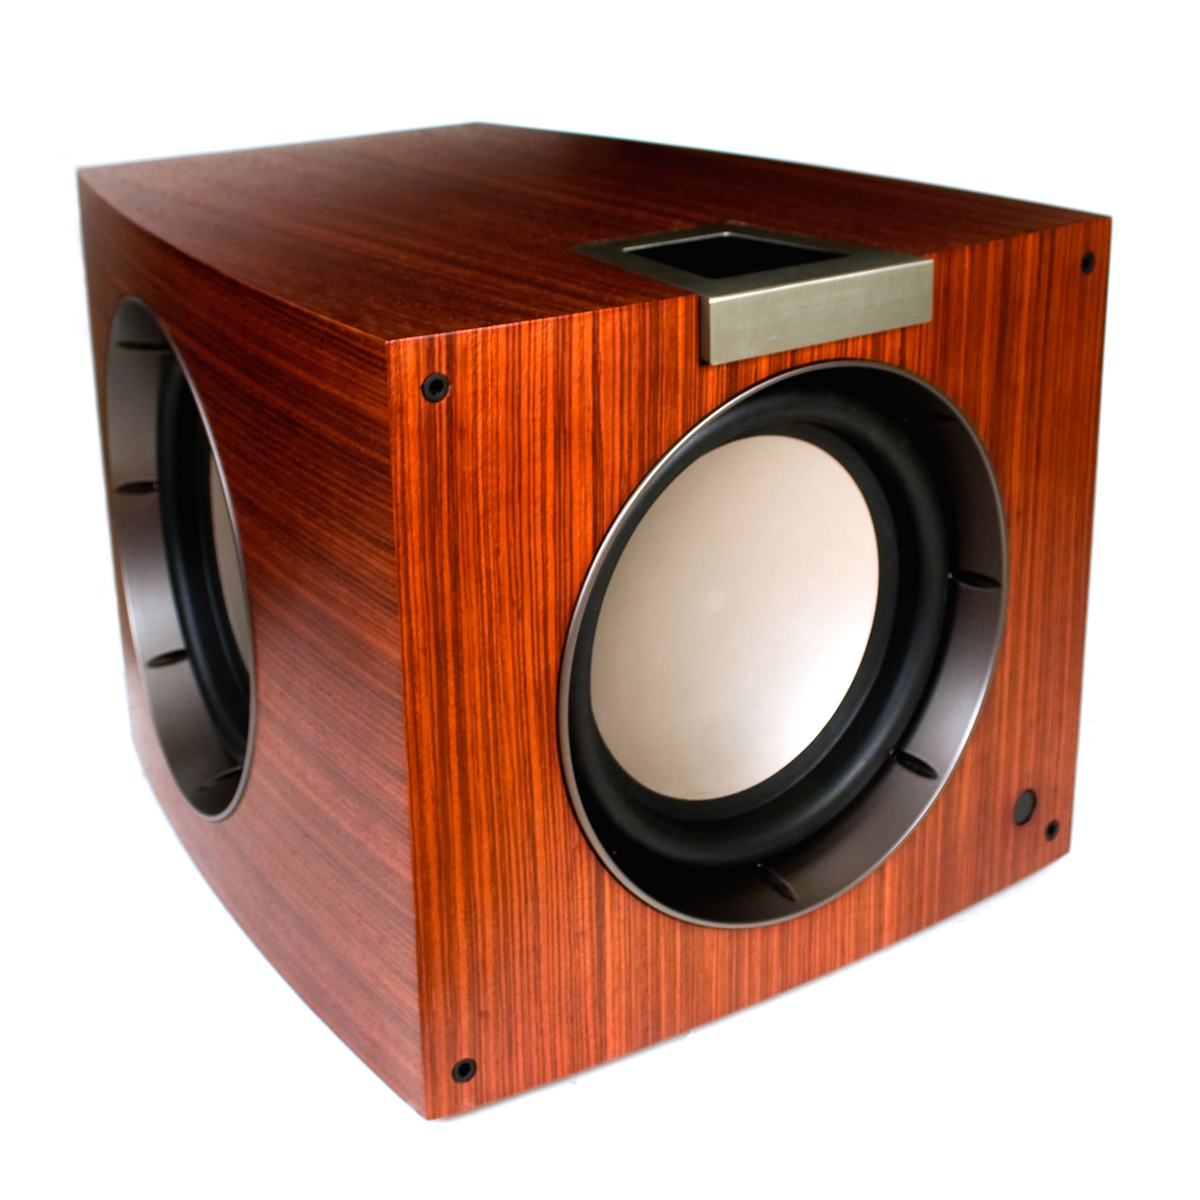
Left: The $7000 Klipsch P312W is a good looker, but overkill for most people.
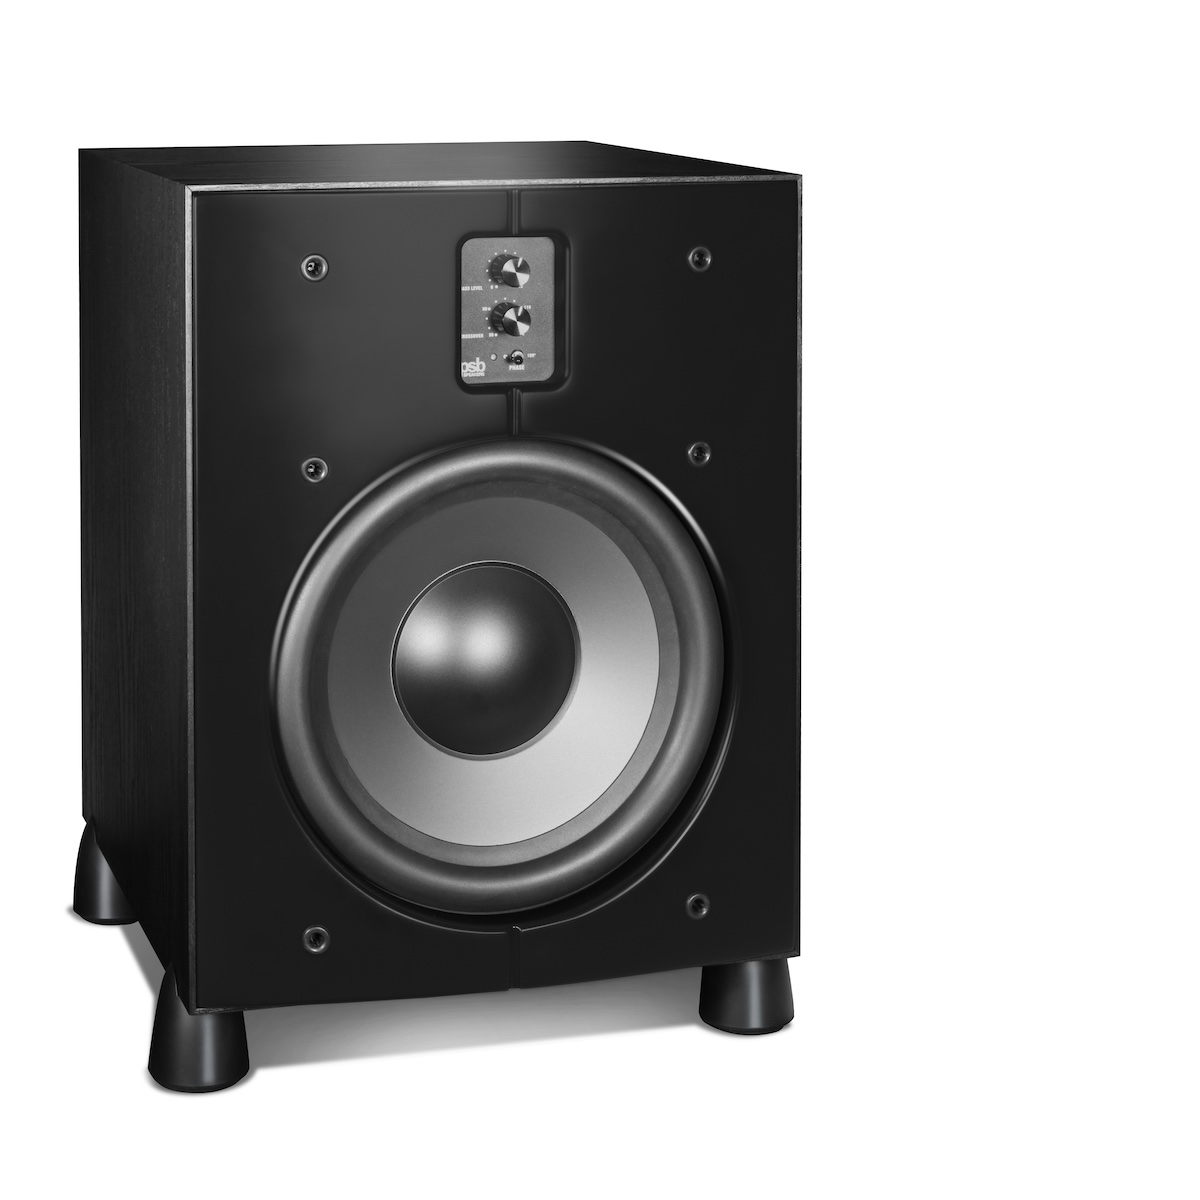
Right: The PSB SubSeries 200 offers great performance and value at around $1000.
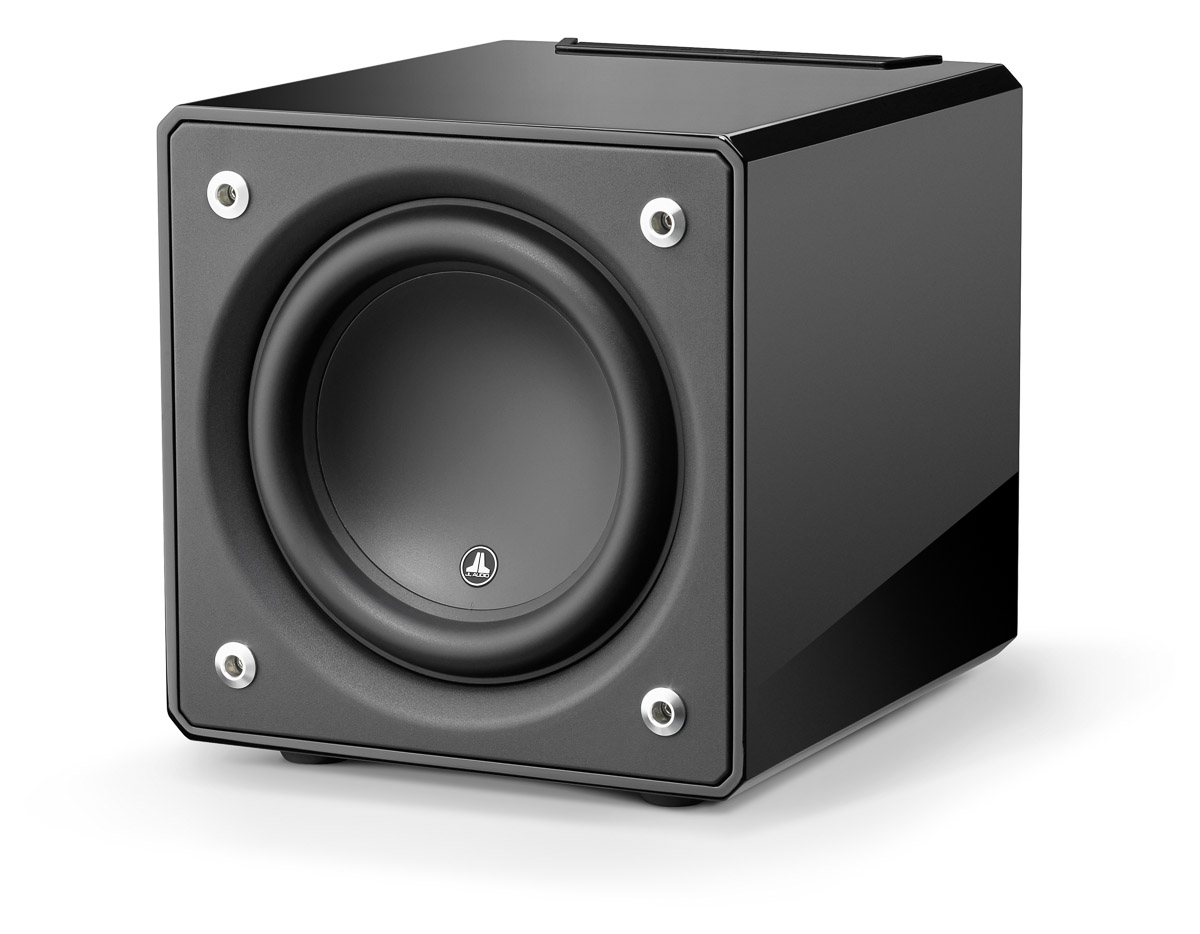
Left: The JL Audio E110 is a formidable yet small subwoofer, but runs around $2000.
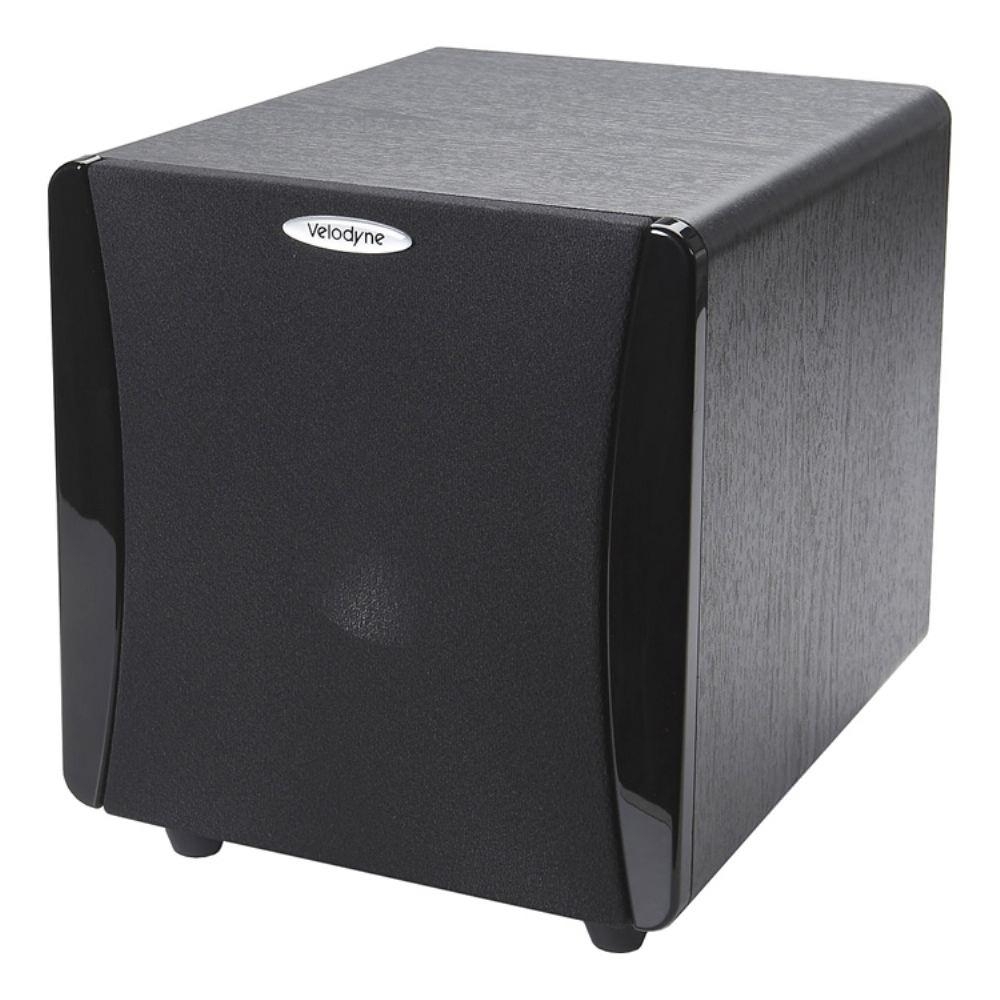
Right: The Velodyne IMP10BE 10" sub provides great bass down to 32Hz for around $600.
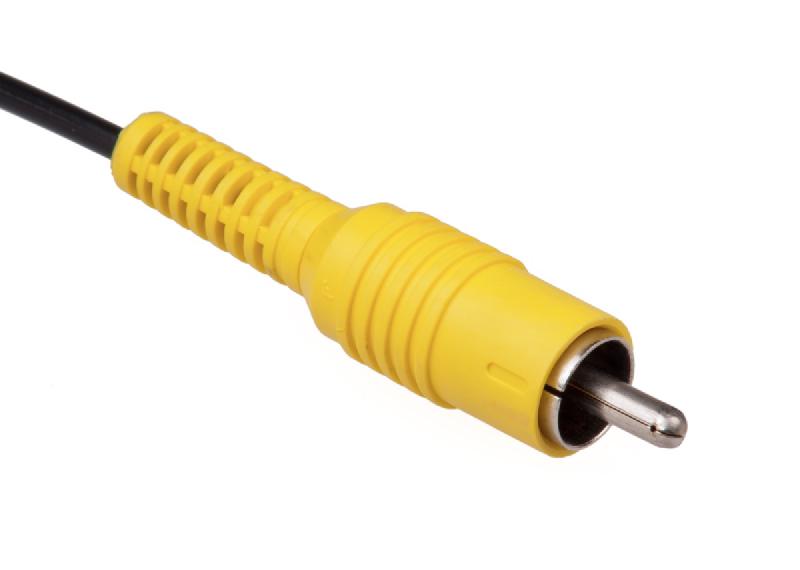
Once you have an idea of what size and power you’re after, the next thing to consider is just how you’ll connect it to your system. If you have a multi-channel receiver, chances are it’ll have a dedicated subwoofer out (aka LFE) – all you have to do is use a single RCA cable (ignore the marketing: you don’t need a special subwoofer cable) to connect the two.
Even the cheapest RCA cable will be fine for a subwoofer – don’t feel that you have to buy a special ‘subwoofer’ cable.
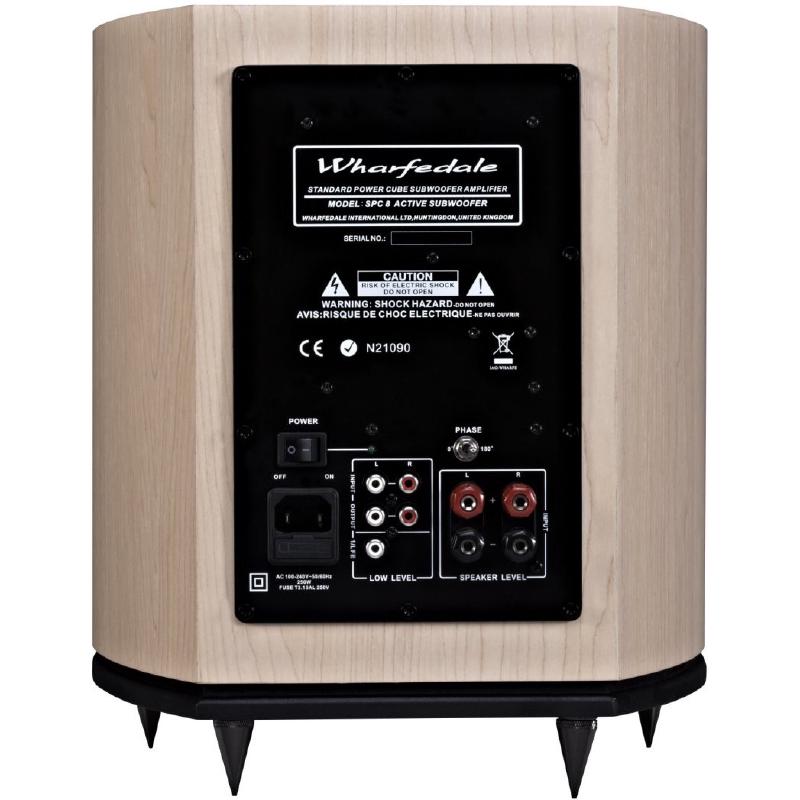
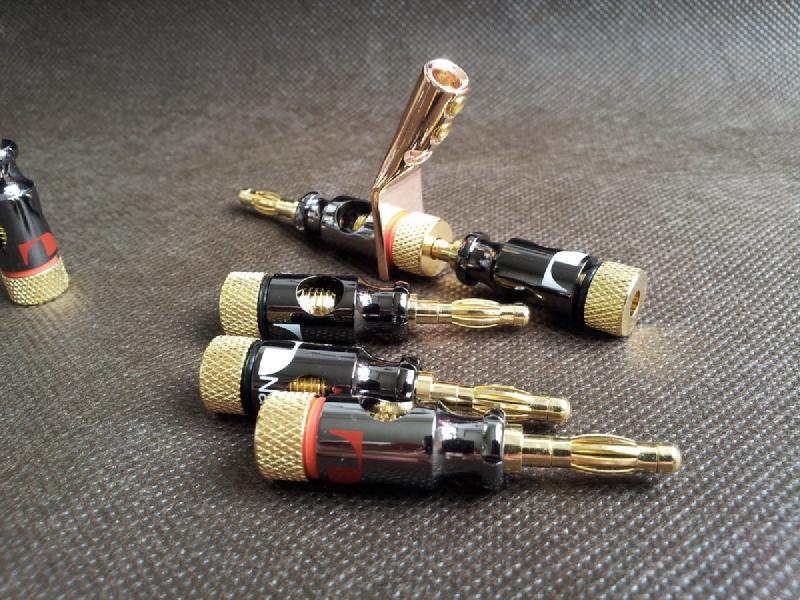
If you have a stereo receiver, or one without a subwoofer out, you have a few options. Some subwoofers support speaker-level (sometimes referred to as high-level) inputs. If this is the case, you can hook up speaker cable directly to the subwoofer. You can do this a few different ways: from the unused ‘B’ speaker connection on your amp; get dual speaker connector plugs on eBay for about $5 that allow you to hook two sets of speaker cables to a single output; or some subwoofers also have speaker-level outputs, so you would just hook your speakers up to the outputs on your sub. You needn’t worry about the sub causing any extra work for your amplifier – it adds no load, so the amp won’t even know it’s there.
Subwoofers with speaker terminals can be connected to amplifiers without subwoofer connections.Double plugs allow speaker cables or lugs to connect up front, with a second set of banana plugs connecting in the back, so you can drive your speakers and sub from the same amplifier outputs.
Some subwoofers’ speaker-level outputs (not all) also filter the bass out of the signal (a high-pass filter), lightening the load that your speakers have to carry – just be sure to set the filter at a frequency appropriate for your speakers (which I’ll get to in a moment).
Now, if your sub doesn’t have speaker-level inputs, and your amplifier doesn’t have a subwoofer output, you may be tempted to connect your sub via the ’tape’ or ‘pre-amp’ outputs. This isn’t ideal, however, as you’ll have to control the volume of the speakers and the subwoofer independently. In short, if your amp doesn’t have a subwoofer out, buy yourself a subwoofer with speaker-level inputs.
Subs can also come with a host of handy extras, including:
A remote control. Subs are often set-and-forget (especially if your receiver is managing the bass for you), but every so often something will just sound a bit better with a little more or a little less bass, and a remote control can save you having to move away from your sweet spot to get it sounding just right. Some subs also come with different EQ modes for different settings, allowing you to switch between booming bass for movies and subtle bass for jazz records at the push of a button.
Wireless transmitters, saving you from having to run a signal cable from your receiver or amplifier. While this may open up better placement possibilities, keep in mind that the sub will still need a power cable.
Bass calibration features (like a tuning mic), which can be a great option for users without calibration built in to their receivers.
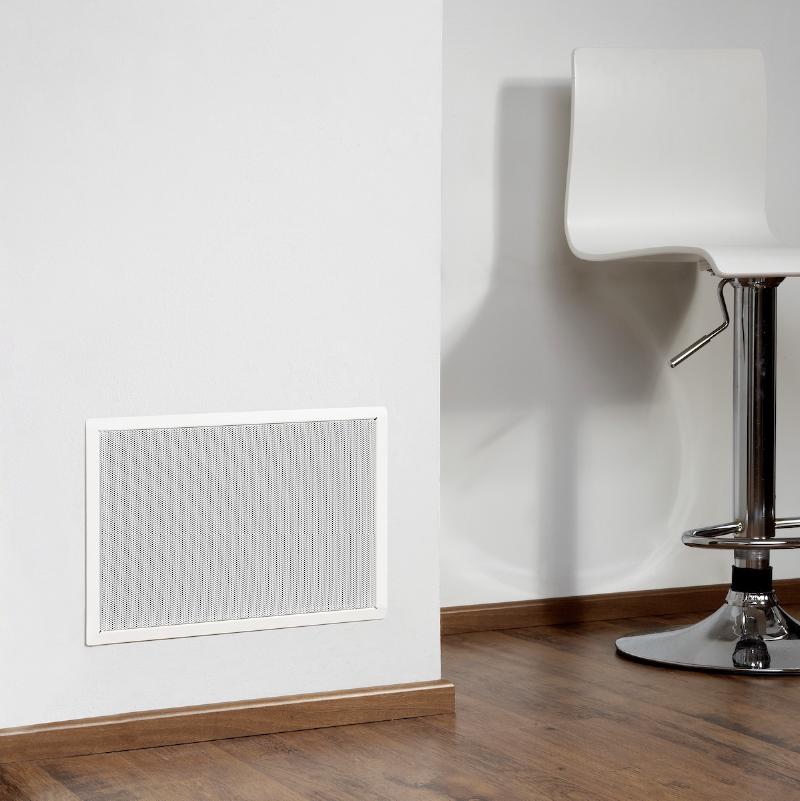
An in-wall subwoofer, like this Genelec 5041A, can provide a more subtle-looking bass experience.
To ensure that the subwoofer and speakers sound ‘united,’ you’ll want to place the subwoofer as near to the speakers as possible – the smaller the speakers (say, sound bars or bookshelves) the more important this is.
Placing your subwoofer near a wall will enhance the bass a little more, and putting it in a corner even more so, but the best tip I’ve heard for placing a subwoofer is the ‘crawl method.’
Basically, set up the sub where your head would normally be in the sweet spot of the room (try and elevate it as near to ear height as possible, too). Starting with the volume half way, get your head down to sub height, and start crawling around your preferred placement spots. Slowly move your head – a few cms can make a noticeable difference – and mark those spaces that sound the best with some tape or chalk. You don’t necessarily want the space with the loudest bass; you want a spot where the bass sounds in proportion to the notes coming from your main speakers. You will have to adjust the sub’s volume across your preferred spots to get it right, so don’t forget to play with that, too.
Once you’ve found your preferred spot, you now need to tweak all the knobs on the back of the sub to get it sounding its best.
If your receiver has a room calibration program, and you’re running your sub from its LFE/subwoofer output, just set the crossover on the sub as high as it can go, set the phase correctly, and re-run the calibration program. Unless your towers have 8" or bigger drivers, I recommend setting the speakers as ‘small,’ so as to pass as much bass to the sub as possible.
But what do I mean about setting the phase correctly? And, what is the crossover for, anyway?
Well, the phase is sort of like the timing of the sub. Y’see, speakers work by pulsing back and forth, pushing air out as they move (of this, I’m sure you’re aware). This works a treat when all the speakers are being run by the same amplifier, as they’ll pulse at back and forth the same time. When you add in a second amplifier, such as the one powering your subwoofer driver, chances are that the drivers in your main speakers will be pulsing at a different time than the driver in your sub. If this is the case, the waves produced by the speakers can be cancelled out by the waves produced by your subwoofer, resulting in diminished bass – and ain’t nobody got time for that.
So, the phase switch/dial allows you to get the subwoofer and speaker drivers moving in-sync. How do you know when they’re in sync? Well, go sit in your sweet spot, and put on some bass-heavy music while a friend turns the phase dial (or flicks the switch). You’ll probably hear points where the bass goes quiet, and points where it’s loudest – just set the dial so it’s at its loudest point, even if it’s too loud for your tastes (that’s what the volume dial is for). If you can’t hear any difference between the settings, just set it to ‘0’ and be done with it.
Once the phase is set, you should next set the crossover value on the sub. This defines how high (in pitch) the subwoofer will go. This should be set so that it complements your main speakers – you don’t want a gap between the lowest note your speakers are producing and the highest that your subwoofer is, but you also don’t want the two to compete.
Contemporary receivers can handle all the crossovers internally via their setup and calibration menus. So, if your multi-channel receiver has such a feature (they all do these days), then you should effectively disable the sub’s crossover by setting it as high as it can go, and letting your receiver handle the crossover itself.
If your amplifier/receiver doesn’t do the crossover for you, or you’ve had to connect your sub via speaker cables, then you’ll need to set the crossover manually. Look to your speaker manuals to see if they make mention of what crossover frequency they recommend for a subwoofer (mine did), but if it makes no mention, a general rule is: for speakers with 2-3" drivers, aim between 150-200Hz; for 4-5" drivers, 80-100Hz; and for 6" and above drivers, 60-80Hz.
Once you’ve set that up, it’s time to put on your favourite album or a good action movie, and fine-tune the volume control until it sounds just right. You’ll probably continue to tweak it over the coming weeks, but you should now be sitting under a warm bass blanket. Enjoy.