

Improve the image quality of your TV by following these steps
This may be surprising for you to find out, but that brilliant, large HD TV that you take so much pride in isn’t actually performing correctly. Most TVs, out of the box, are designed to be beacons that can compete against the fluorescent din of your local electronics store. To do this, not only is the brightness set to uncomfortable levels, but the colour temperature (which I’ll explain shortly) is set higher towards the blue end, so your colours look unnaturally poppin’. Manufacturers do this because they want their TV to stand out among the competitors. While this may increase the chances that you’ll buy it, it decreases the realism of the image.
Having your TV set to its Vivid image mode may look great for a computer desktop, but I watched Alien for the first time at a friend’s place last week (I know, I know… I should have watched it years ago), and the sheer brightness of his screen absolutely killed the mood. A marvellous movie killed by poor calibration. The shame! Notably, I later watched Aliens on my own TV – set to cinema mode – and, ohhh myyyy…

Now, while many TVs these days will ask you at setup if it’s being used in a store or at home – saving you from the worst of the garish settings – they still don’t default to the more accurate, realistic settings. Thankfully, for the cinema purists out there, there are ways to make your TV (or projector) conform to the standards that film and TV directors had in mind when shooting their masterpieces.
Method 1: hire a professional #
To get the most accurate settings possible, you can hire a professional (with very expensive professional equipment) to come and properly calibrate your TV. The reason that they need proper equipment (rather than just a Blu-ray with some test patterns on it) is so that they can accurately set the colour temperature – which varies depending on the room you’re using it, the lights in that room, and even the part of the earth you’re located on. Due to the fuzzy perceptive nature of our brains, it’s not possible to set the colour temperature by eye, so special equipment is needed. Special, expensive equipment. So, expect to fork out a few hundred dollars or more to have a trained professional (look for certification from either the Image Science Foundation, aka ISF, or THX) come in and set everything up properly.
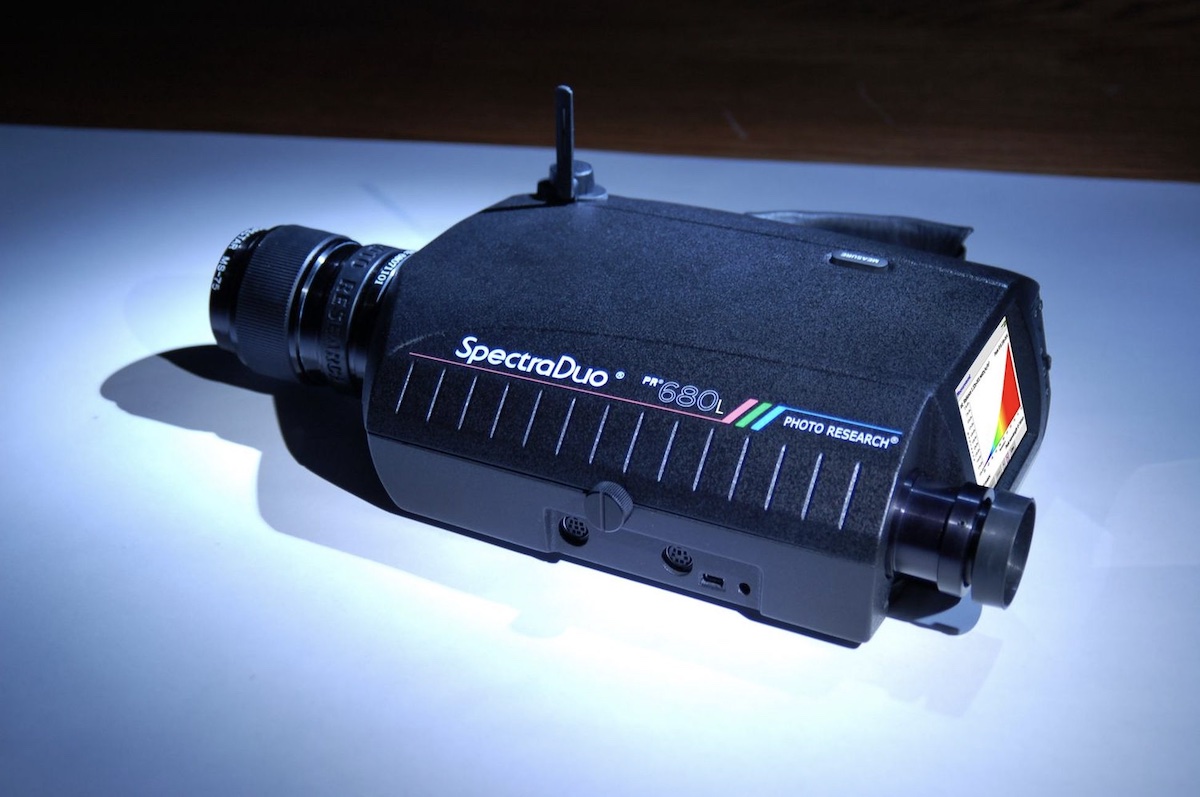
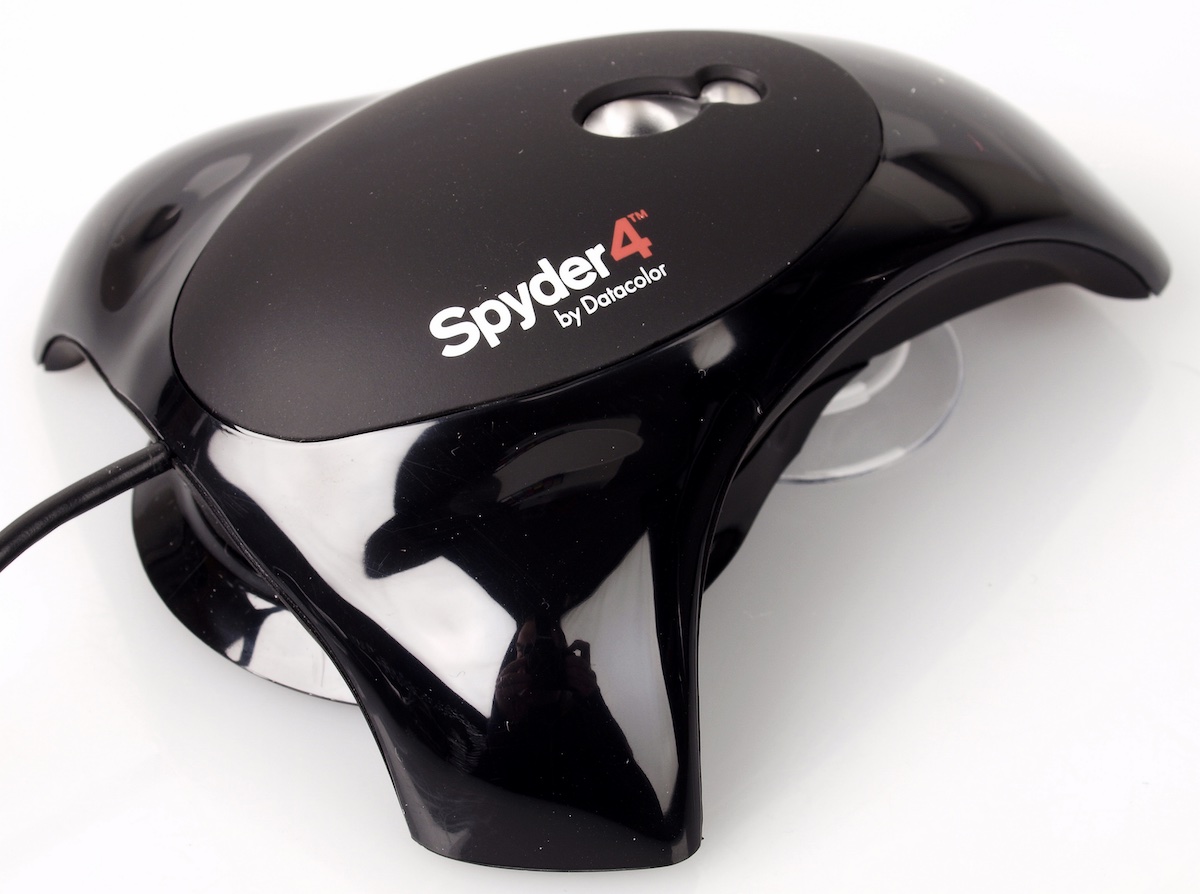
The PR680L SpectraDuo by Photo Research Inc. (Left) is an example of a colour measurement tool used by professional display calibrators. It costs tens of thousands of dollars. While less-accurate consumer-grade calibration tools, like the Datacolor Spyder 4 (Right), cost only a couple of hundred dollars.
Unfortunately, forking out a few hundred dollars for a pro to come set your TV up for you is a luxury that most of us can’t justify, so you’ll be pleased to know that there are DIY methods that will get you much closer to the desired cinematic standard.
Method 2: use a setup disc and tweak yourself #
You can save some serious dollars and still achieve a near-perfect image by purchasing a DVD/Blu-ray setup disc and running through the process yourself.
One that’s come widely recommended for beginners is the Disney World of Wonder (or ‘WOW’… sheesh) two disc set. You can get the DVD version for less than $30 online, but the Blu-ray version (which includes 3D tools) runs at least $50. Disney WOW is targeted towards home theatre beginners, so includes a tonne of information on the various settings and tests, and even comes with a thick manual, and a little plastic card to view your screen through during some special setup videos.
Among the many visual setup aids is also a ‘pixel flapper’ that can help fix stuck pixels or burnt-in images, and an audio setup that includes a ‘buzz and rattle’ guide that will help you locate and isolate any rattles in your home theatre room, as well as an audio sync tool to help you fix any issues there. Best of all, it’s really easy to follow along.

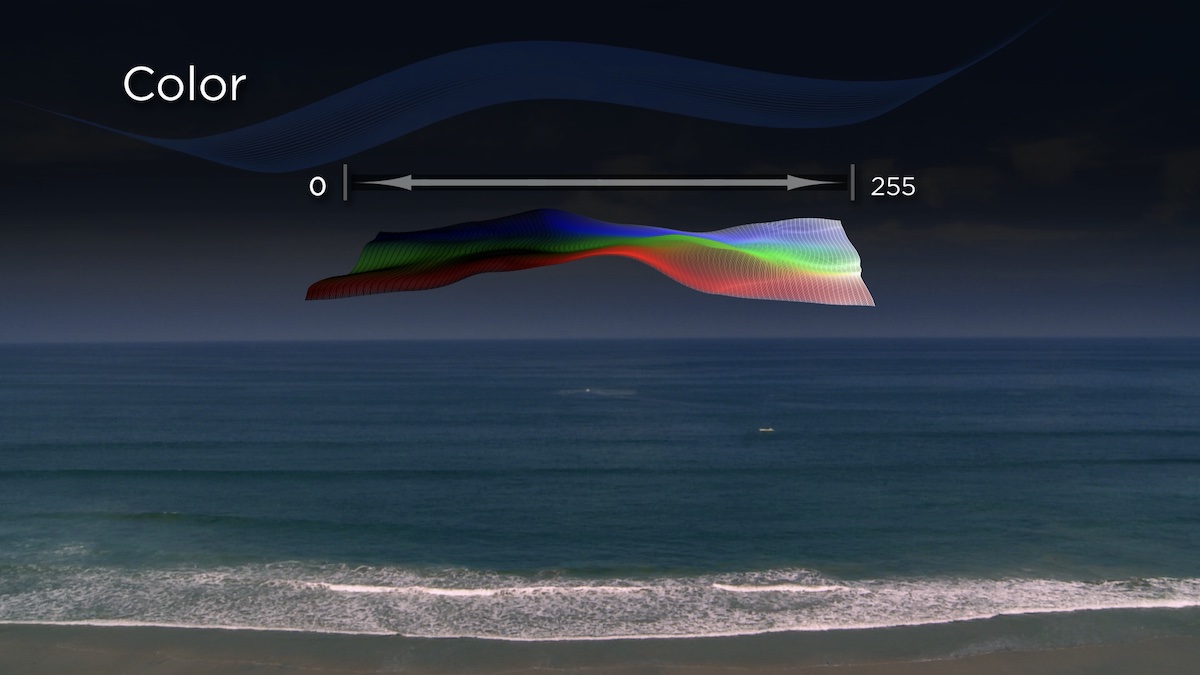
The Disney WOW setup disc comes with a high level of production value. From the menus… to the actual test patterns, almost everything is beautiful.
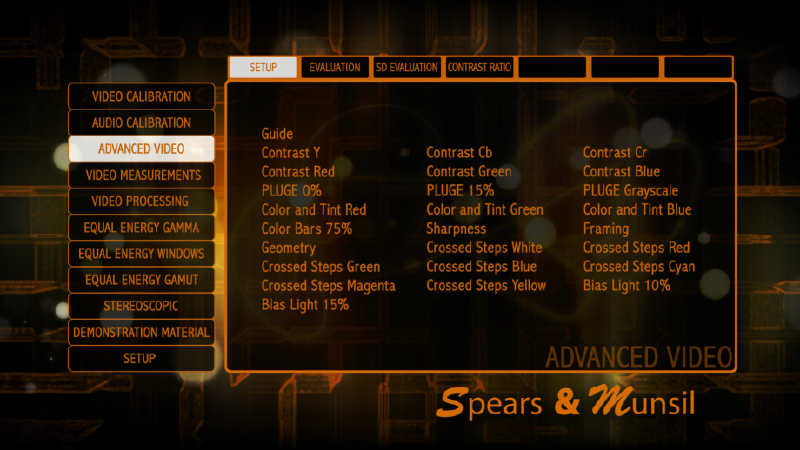
If you already know your way around the settings, or are just looking for something that can take you a little further down the path of finely tuned home theatre setup, one of the best in the industry is the Spears & Munsil High Definition Benchmark (2nd Edition) Blu-ray. When compared to the Disney WOW discs, there’s a bit more assumed knowledge with this product, but there is still info included for the beginner. It’s also much cheaper, as you can purchase the region-free disc direct from the US. Like the Disney one, it also contains audio setup and sync tools, 3D calibration and test patterns, but the tests go much deeper – as shown in their extensive, near endless menus.
Undercutting both of these is the free-yet-capable AVS HD 709 calibration video, available from the AVS Forum [Ed: remember forums? I miss forums]. Be sure to also download the instructional PDF, which gives detailed info and instructions on how to use the different setup videos. While it’s not as comprehensive as the Spears & Munsil, nor as pretty as the Disney WOW, if you follow the instructions, you’ll still end up with a great-looking image.
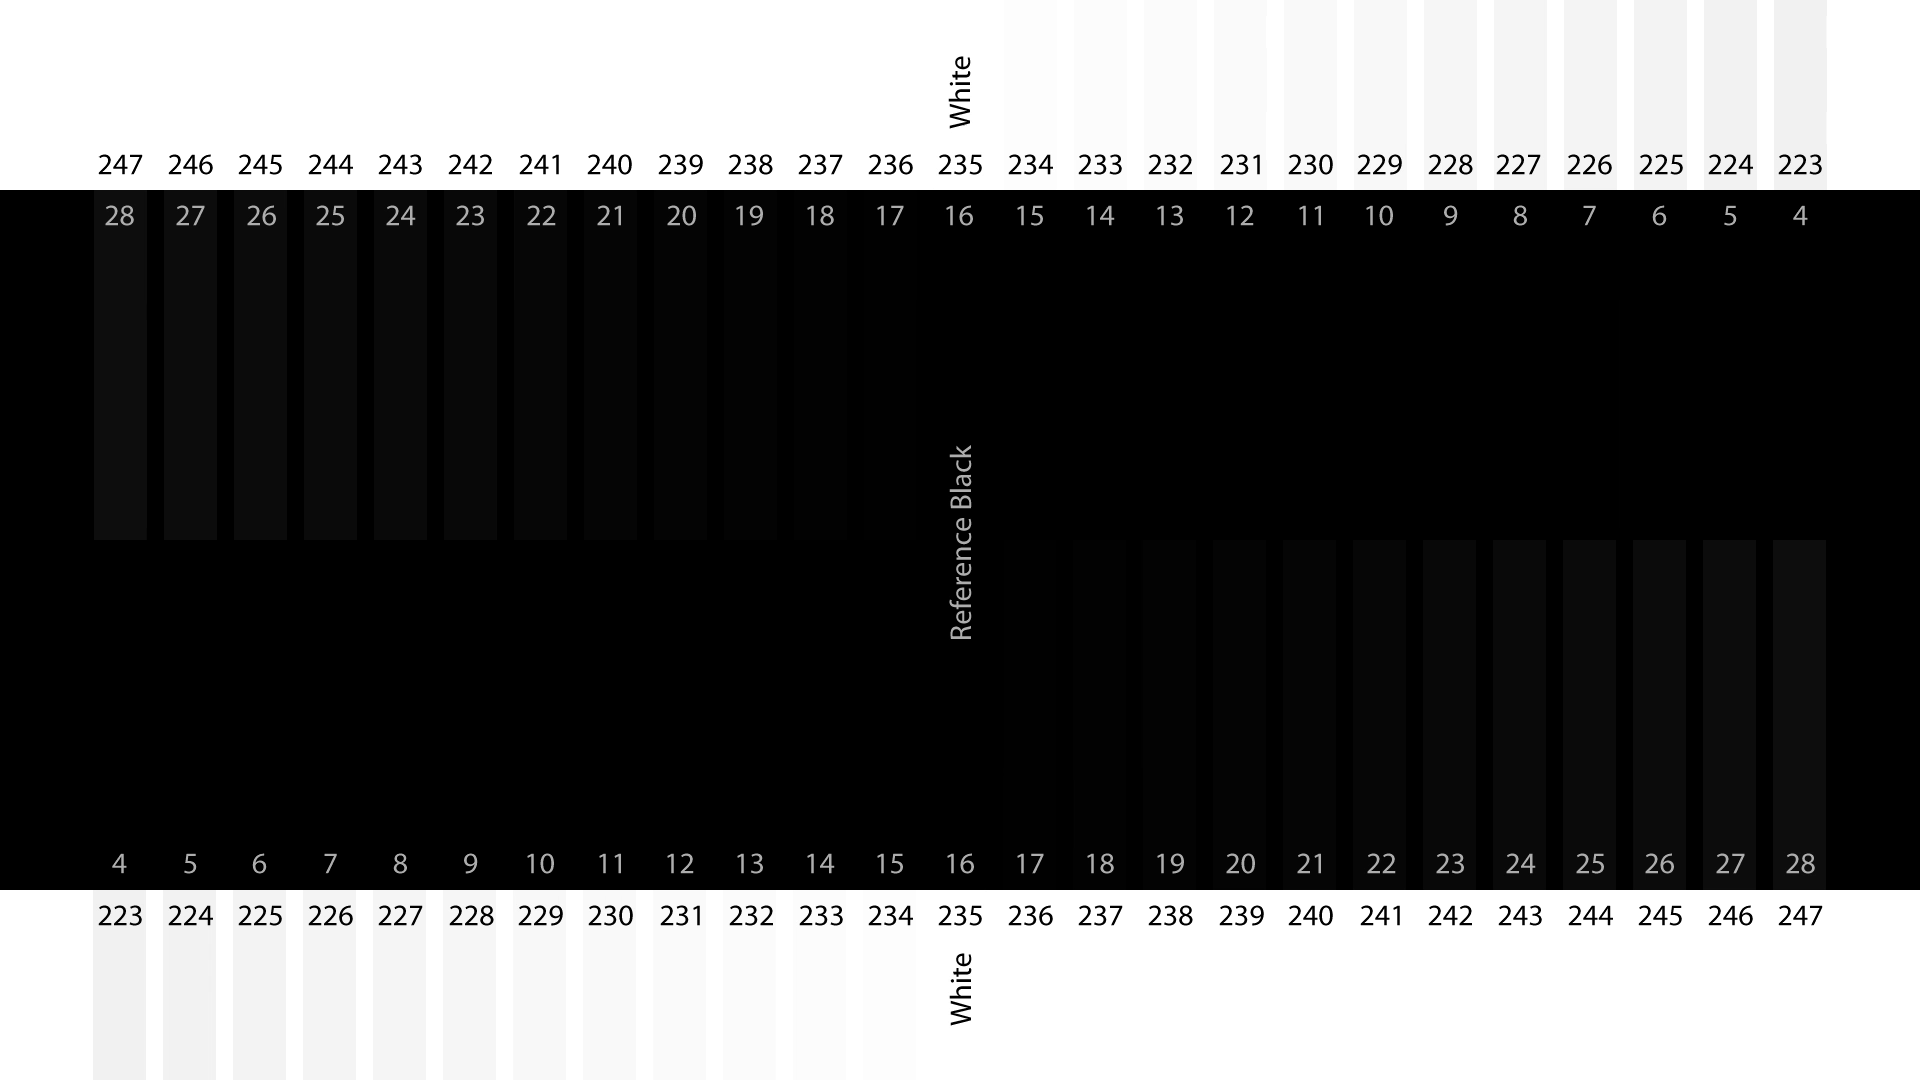
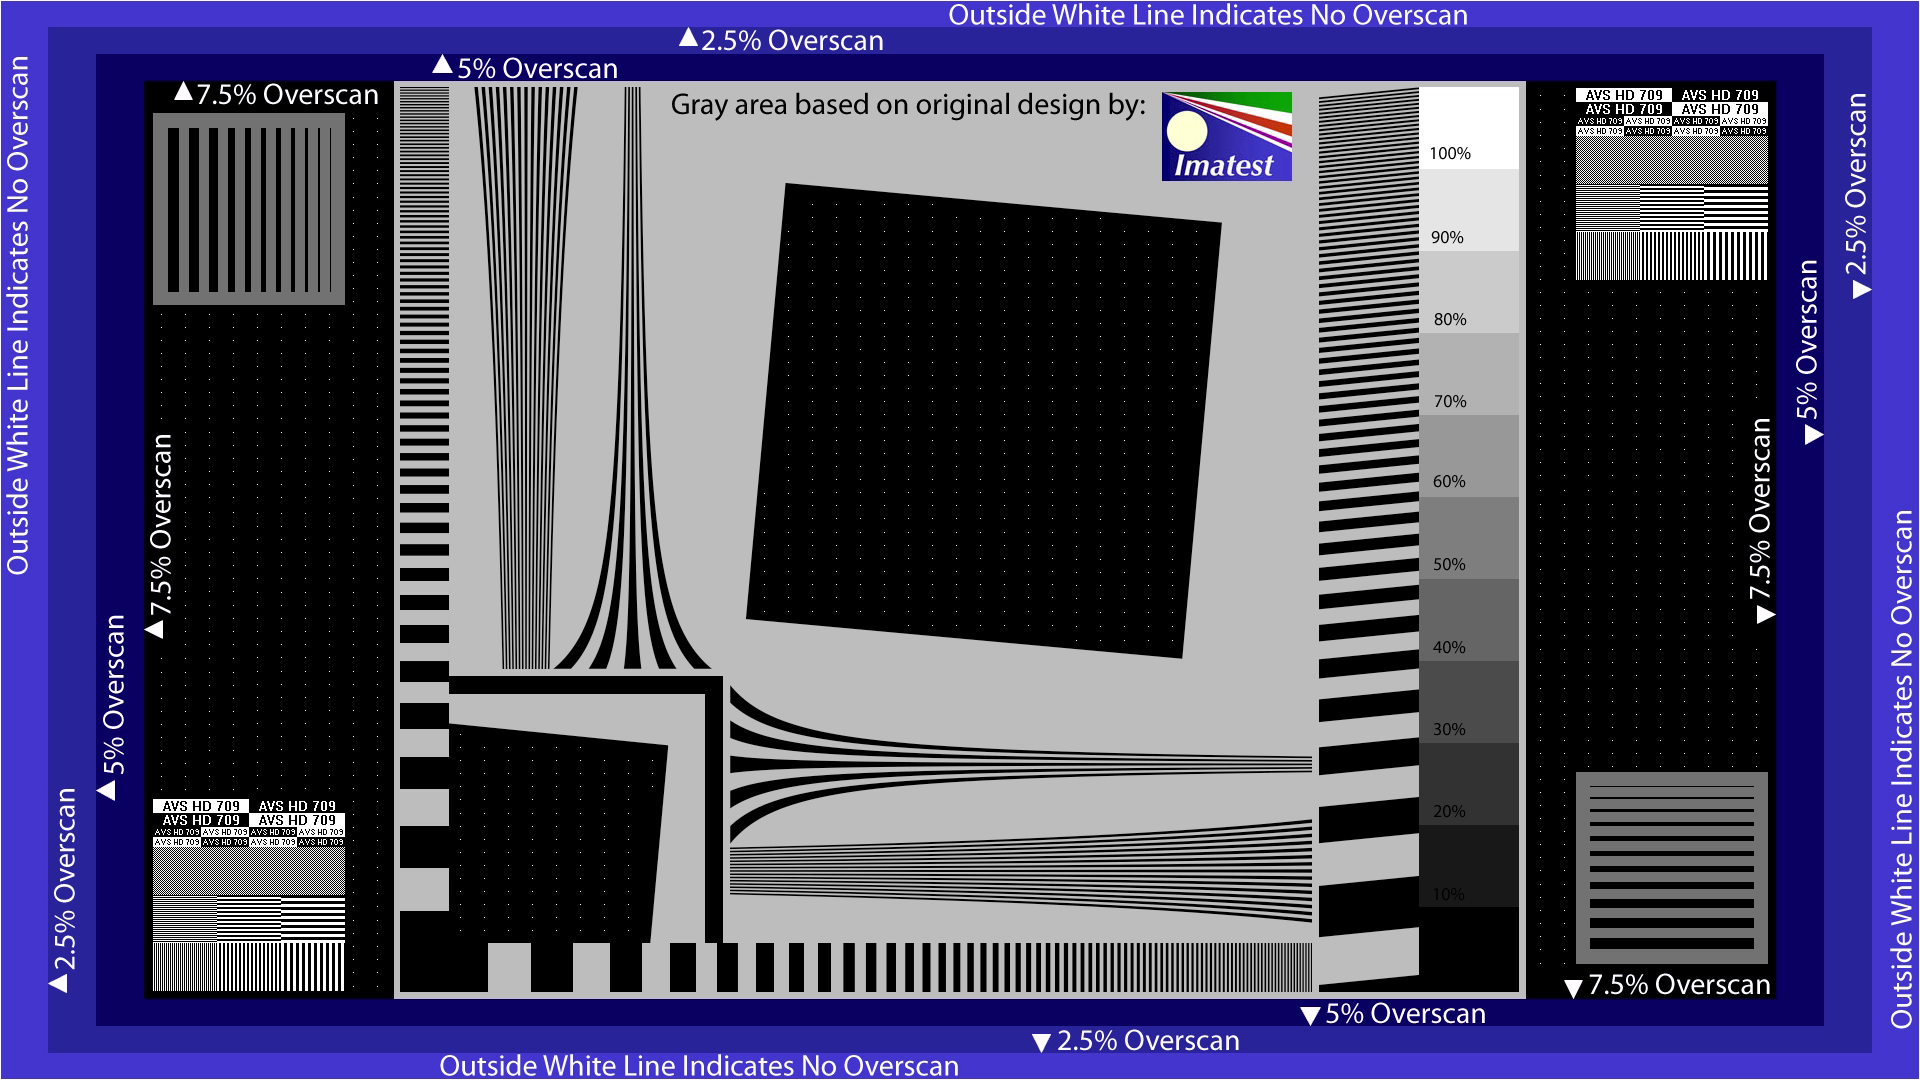
Left: An example test pattern (for black & white levels) from the free AVS HD 709 disc. Right: This test pattern from the free AVS HD 709 disc helps determine image sharpness and overscan values.
Alternatively, you can still improve your settings even without a setup disc – although they will give better results, as you’ll have an ideal image or video displayed for the type of adjustment that you’re making.
Whether using a setup disc or just going by eye, I recommend beginning by selecting the cinema/movie mode, as this is designed to set the TV to a ‘close to calibrated’ state. This gives a good base on which to tweak settings to your preference. Speaking of preference, you may think that the cinema mode looks dull in comparison to the factory-set mode. Indeed it will… but your brain will get used to it over the course of time. Give it a few days and I’m sure that you’ll grow to love it.
Note that you should be performing these adjustments during your preferred viewing time. If you’re a soap fan, go daytime, but a horror freak, then go night time with the lights out. Many TVs come with more than one ‘custom’ mode, so you can even set one up for The Days Of Our Lives, and one for The Night Of The Living Dead.
Navigating your TV’s settings #
To set any of this up, though, you’re going to have to know your way around the following settings:
Backlight #
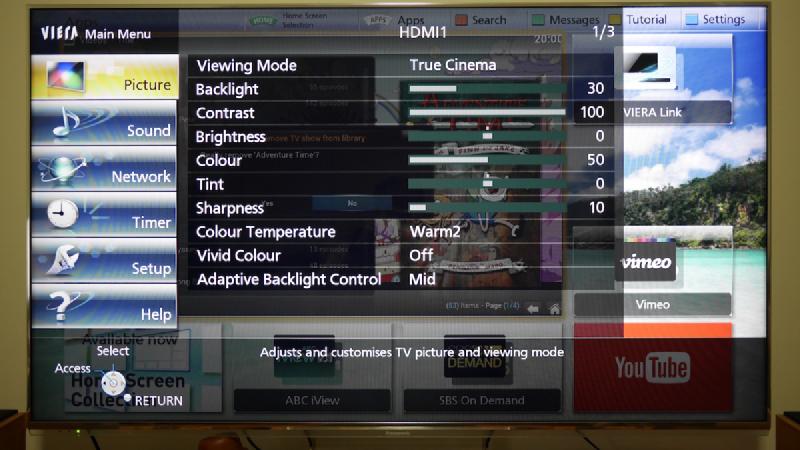
The backlight (on LCD TVs, but not plasmas), unsurprisingly, adjusts the strength of the backlight. This is separate from the brightness setting, which is a setting that will have an effect on the image quality. The brightness here relates to the light output of your TV, and is a good way to quickly make the image more visible during the day, or reduce eye-strain at night, without upsetting the balance between brightness and contrast, as described below.
Room treatment
One of the best ways to increase the image quality of your screen is to watch the TV in as dark a room as possible, so it may be worth your while to go fork out for some thick black curtains.
However, watching all those movies in the dark may lead to eye strain. To minimise this, reduce the backlight setting on your LCD TV, or if that’s not enough (or possible), you can install a neutral grey ‘bias light’ behind your TV that won’t affect the colour accuracy. You can also just move your chair closer.
Contrast #

The contrast is the difference in luminance across the image displayed on-screen. It’s sort of tricky to describe, but it’s effectively the ‘white level.’ A low contrast setting will make the image look grey and washed out, and a high contrast setting will make the colours look unnatural and you’ll lose the detail in the lightest parts. When setting contrast without a setup disc, you’ll want a bright image on-screen that still contains highlight detail – daylight cloudscapes (say, the golf) are ideal. Turn the contrast up so that the clouds lose their internal detail and become white patches, then slowly turn it down again, stopping when detail returns.
Brightness #
The brightness differs from the backlight setting, in that it effectively defines the darkest colour on-screen. As such, it’s also known as the ‘black level’. Set it too high, and your blacks will look grey, but set it too low, and you’ll lose detail in dark areas, or won’t be able to see what’s happening on-screen. You should be able to see details on black suits in a night scene, without it looking like they’re just heads and hands creepily floating in the night air.
Colour #
This is the amount of colour saturation that your image displays. At minimum, it’ll turn your display black & white; at maximum, you’ll feel like you’re living in Springfield. It’s probably ok as-is.
Tint #
You probably won’t ever have to touch this, so best leave it alone. It’ll just make your image more green or magenta.
Sharpness #

Technically edge enhancement, this setting makes the edges of objects more obvious. It’s usually set pretty high by default, but should be dropped for realism. I put mine at or close to the minimum value (some manufactures will allow you to go into negative values, effectively adding blur to an image – in such a case you won’t want to go below zero).
Colour temperature #
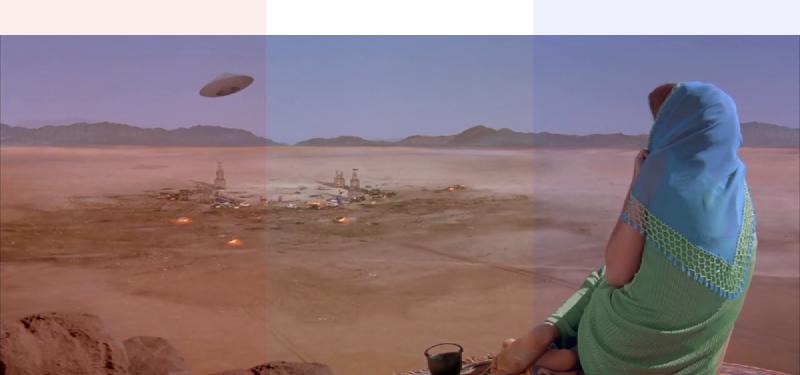
This is the main value that a professional calibrator will set up correctly. Decades ago, a standard was decided upon (known as D65) for directors to set their films against, ensuring that their vision looks the same on every screen. This standard sits around 6500K (which is approximately the same ‘colour’ as daylight). By setting this close to that value (it’s rarely given as a number on TVs, but is usually one of the ‘warm’ settings), you’re going to view movies and TV shows as the director intended. Too low a value, and everyone will start turning pink, too high a value and everyone will look like the Ice King. Most TVs ship with high colour temperatures (‘cool’ settings) as default, as they look brightest. Again, things will look weird when you first change this, so give your brain time to adjust to the warm setting before you give up and go back to cool.
What does colour have to do with temperature, anyway?
Measured in Kelvin (the more scientific version of Celsius, where the scale can’t go below zero), the colour temperature refers to the colour of light emitted by a perfect black-bodied object were it to be heated to that temperature (confusing, no?). Incandescent light bulbs are a rough example of such an object, and emit light at a colour temperature of ~2700 K, which also corresponds to the filament’s surface temperature. CCFLs, LEDs (like those in your TV), fluorescent, and most other modern light sources’ surface temperatures do not correspond to their colour temperature, however, further complicating comprehension.
Motion interpolation #
Most HDTVs include motion interpolation, which adds in the extra frames needed for 60+ Hz modes. This is what generates the ‘soap opera effect’ that makes some viewers uncomfortable, so you may want to reduce it or turn it off. Each manufacturer calls this something different, so you might need to take a peek at your manual to confirm what it’s called on your TV. Notably, many “Cinema” modes put the TV at 24 frames per second to mimic film projectors.
With the exception of motion interpolation, these are the basic settings that pretty much every TV will have. Usually after this point in the menu, you’ll start to get into manufacturer specific image enhancement settings – those that come with their own branding. They vary far too much between different TVs, so I can’t get into the details, so please consult your manual for more information.
Gaming
All of these tweaks are designed to make movies and TV shows look their best. However, if you’re a gamer, you may find that games don’t really look that great anymore. Look around in your TV settings for a game mode, and see if you prefer it when gaming. If so, set it as the default for your console’s HDMI input (if you use your console to watch movies, however, be sure to switch it back).
Other picture modes
There are usually a number of different picture modes available on TVs. My preference is the Cinema mode (curiously, my Panasonic TV has a Cinema mode as well as a True Cinema mode, which seems to be the one closer to the D65 standard). The aforementioned ‘Game’ mode will make the bright colours and graphics of most video games look a little more eye-catching, and the Sports modes will usually increase any motion interpolation, so as to make the players look a little more smooth as they run around the screen. There are also usually ones called ‘Dynamic’ or ‘Vivid’ or some other equally exciting name – these are the ones that set everything to the nauseating, eye-popping levels designed to move units off of store shelves, and, well, yeurgh.