

Adding a light behind your TV will reduce eyestrain while improving picture quality.
There’s a simple, cheap, and effective trick you can do in your lounge room that will not only increase the perceived image quality of your TV, but will also reduce eyestrain during those marathon Game of Thrones sessions. In fact, it’s so simple that you may not believe me when I tell you what it is: sticking a light behind your TV.
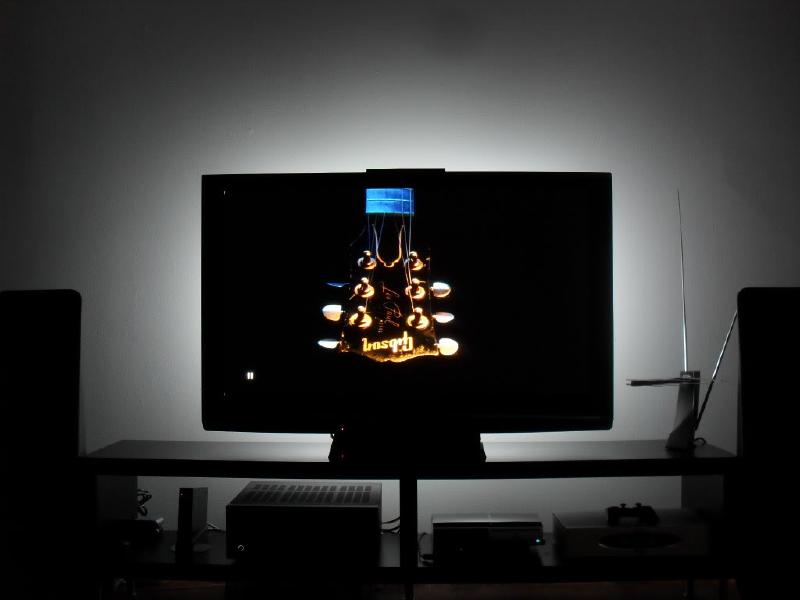
Yup. That’s all you need to do. Now, of course my job here is to make the time you spend in your lounge room as enjoyable as possible, which usually involves rather high-tech gear, but the benefits of sticking a light behind your TV – the technical term for which is ‘bias lighting’ – are so profound, and the upfront costs so minimal, that I’m prepared to spend this month’s pages on extolling these virtues over, say, the latest streaming media players.
And being the tech nerd that I am, I’m also quite excited that, by choosing the right bias light, you will not only improve the perceived contrast of your image, but complement the colour calibration that you worked so hard to perfect back in October of last year (that is, TechLife issue 29).
Not just for home theatre
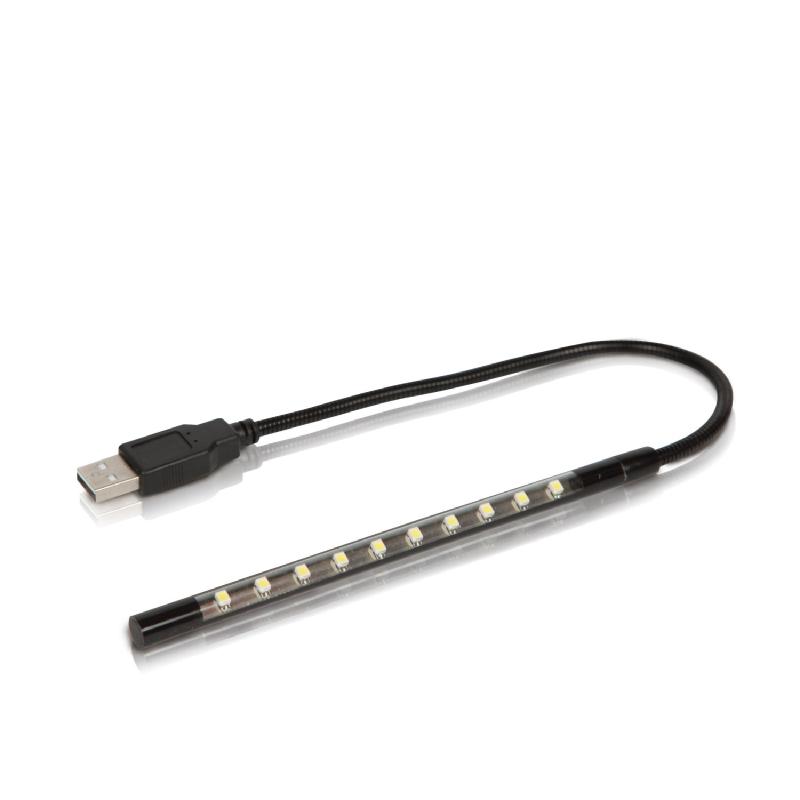
Outside of the lounge room, bias lighting is also really good for computer use, as it will mitigate the ghosting in your retinas that you get from reading text at night. And, if colour rendering isn’t critical, any ol’ lamp will do: even a USB-powered bendy lamp for only a few dollars off of eBay.
To start though, let’s examine why bias lighting makes for more comfortable TV viewing in the form of reduced eyestrain.
Reducing eyestrain #
When you’re watching TV, more often than not, you’re looking at a small rectangle of light floating in a sea of black (that is, unless you’re watching the midday soaps, of course). This is pleasing for immersion, but can play havoc with your eyes. Why? Because your irises (that is, the part of your eye that contracts and expands to let in more or less light) react to the average light of the scene they are observing, which during a movie, constantly changes. Thus your irises are working overtime opening and closing to best suit the current scene. This can manifest in, at best, temporary ghosting of the previous bright scene in your vision, or, at worse, eyestrain or even headaches.
The solution to this is to reduce the difference in brightness between movie scenes, and the best way to do that is to bring the average brightness of the room up a bit. Now, you could do this by switching on a lamp or a dim ceiling light, but this usually results in reflections on your screen, and ain’t nobody got time for dat. So, the best way then is to install a dim light behind your TV, and have it reflect diffuse light off of the wall behind it, resulting in no on-screen reflections. This isn’t as distracting as you might first believe, and by a trick of our physiology, it will actually increase the contrast of what you’re seeing on-screen. And given that contrast is the greatest contributing factor in image quality, it’s like a bonus upgrade for your TV!
Increasing contrast #
For reasons beyond my comprehension, our eyes are actually better at picking out contrast in a scene if it’s surrounded by lighter colours than if it were surrounded by darker ones. Indeed, there’s a neat way to show this trick in action, and it’s known as the simultaneous contrast optical illusion.

Looking at the above figure, it appears that the grey bar stretching across the middle changes colour from left to right. In truth, it’s the same shade the whole length across – cover the background and check for yourself. What’s happening is that our eyes perceive grey to be darker and richer when seen against a lighter background, but more washed out when seen against a darker one. It doesn’t take much to come to the conclusion that, if you could frame your TV with a light grey background, the greys (and therefore colours) on-screen would appear deeper – that is, have higher contrast.
This is precisely what bias lighting does: provides an unobtrusive, light frame around your TV. And, if you care about colour calibration, it’s possible (and actually not too hard) to make that light a neutral grey matched to the D65 standard that your TV is calibrated to.
One further benefit to bias lighting is that you won’t need to ramp up the contrast and brightness on your TV as far to achieve your desired image quality when you install a bias light, as it’s doing some of the work on behalf of the TV. This results in lowering the energy output of your TV’s backlight, which in turn increases its lifespan. That’s right: installing a bias light can even help extend the life of your TV set. Thank me later.
Choosing the right light #
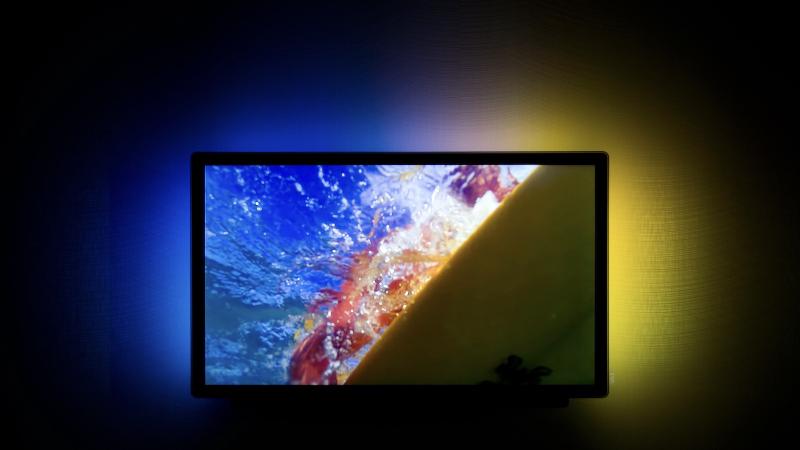
Depending on why you are installing a bias light – that is, if you’re only interested in reducing eyestrain, or would also like it to increase contrast without affecting your colour calibration – you’ll have different requirements for the light itself. To reduce eyestrain, any ol’ dim light will work. But to make the most of the image enhancing qualities of bias lighting, you will want the light to meet (or at least come close to) specific standards, namely a specific colour temperature and minimum Colour Rendering Index (CRI).
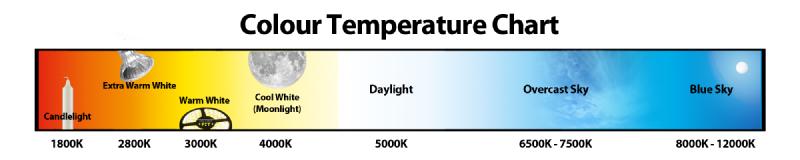
Colour temperature, as I discussed in my TV calibration article in October of 2014, defines the apparent ‘warmness’ or ‘coolness’ of the white – and thus all the other colours – in a scene. Technically, it’s the equivalent temperature (in Kelvin) that a black-body radiator (such as the filament in an incandescent lightbulb) has to be heated to for it to create light of that ‘colour’. Warm whites (yellowish) are about 2700K – 3000K, while cool whites (blueish) are over 5000K. The equivalent of daylight (at midday in Western and Northern Europe, to be specific) is around 6500K. Importantly, this is the standard colour temperature chosen for films, and the colour temperature that you want calibrate your TV to in order to see the movie as the director intended.
Not surprisingly, then, for your bias light to best enhance the colours seen on-screen without altering them, you’ll want a bulb that produces light at (or as near as possible to) 6500K (and for its light to reflect off a neutral coloured, light grey wall, but this is really only for those with actual home theatres or very accepting spouses). Thankfully, just about all energy saving bulbs have their colour temperature printed on them, so it isn’t actually too hard to find one that’s near enough.
If you’re absolutely, totally, and completely set on having the best, most accurate image possible on-screen (I’m guessing that you’re also willing to pay for a professional calibration service in addition to setting up the bias light), then you’re best looking at professional-quality bulbs, or even calibrated bias lights such as the CinemaQuest Ideal-lume line of products.
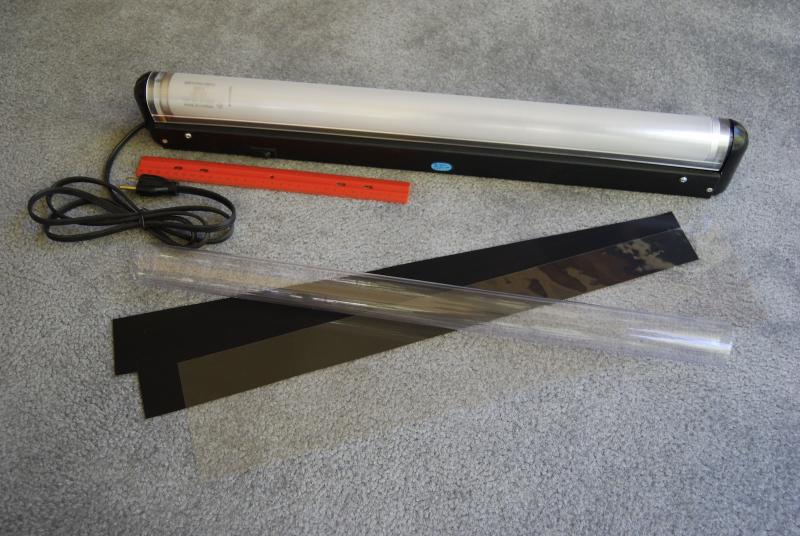
As the perfectionist that you are, you’ll also want to confirm that your chosen light has a ‘Colour Rendering Index’ (CRI) of 90 or above. What the CRI describes is, in simple terms, the ‘fullness’ of the spectrum given off by the bulb. You can have a light that is rated at 6500K, but may not actually be producing light at every wavelength between each major colour the way that incandescent bulbs do (which score 100 on the CRI). Most LEDs sit around the 80 mark – although there are now specialty ones on the market that are rated above 95 – and most off-the-hardware-shelf fluorescent lights fare not much better. Unfortunately, while manufacturers often put the colour temperature on the packet, the CRI is a less common addition. You might as well take a trip to Bunnings to take a look for yourself, though – at the very least you’ll walk away with a sausage sanga.
If you’re not a sausage person, or just like the ‘do it once, do it well’ ethos, then you can pick up a bulb or lamp specifically designed for bias lighting that will provide as close to the D65 reference standard as possible (such as the ones made by CinemaQuest and used in many studios’ editing suites), but be aware that these are quite expensive. Thankfully, you needn’t rely on one of these, as there are many ‘daylight’ bulbs now available that have a high CRI, and are often available at 6500K (though it seems that 5000K is most common). Just Google “high CRI bulb” to find a reseller that stocks them near you.
For Joe Schmo, though (and I must admit, I fall in to this category), a strip of 6500K (or near) LEDs is good enough, can be taped to the rear of your screen to save room, and can even be USB powered, so, when plugged into the ports on the back of your TV, will turn on and off with the TV.
Even after all these choices, there is still one more that you need to make: ready-made or DIY.
To DIY or not? #
What may come as a surprise to many is that the DIY route isn’t actually as cost-saving as it usually is: while strips of LEDs are cheap as chips now (eBay or Alibaba are two good options), you will also need a power supply (or USB adapter – keeping in mind that most LEDs are 12v, not USB’s 5v), the ability to mount them to the TV (double-sided tape), and a convenient way to turn them on and off (USB ports on your TV or a remote control).
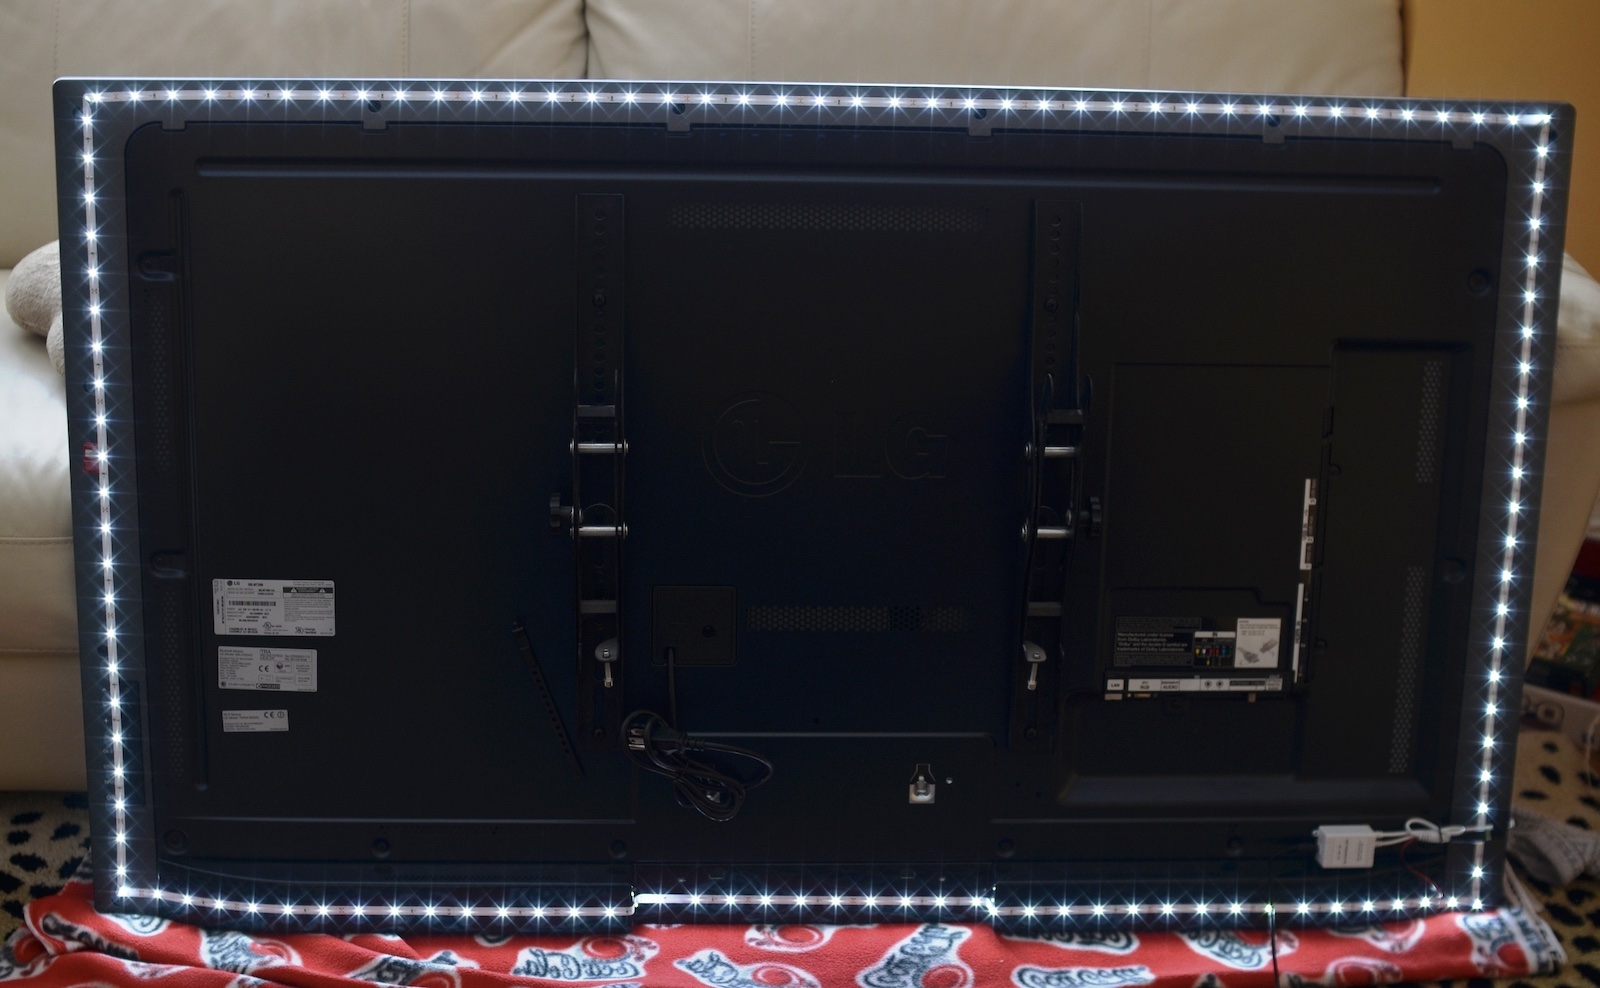
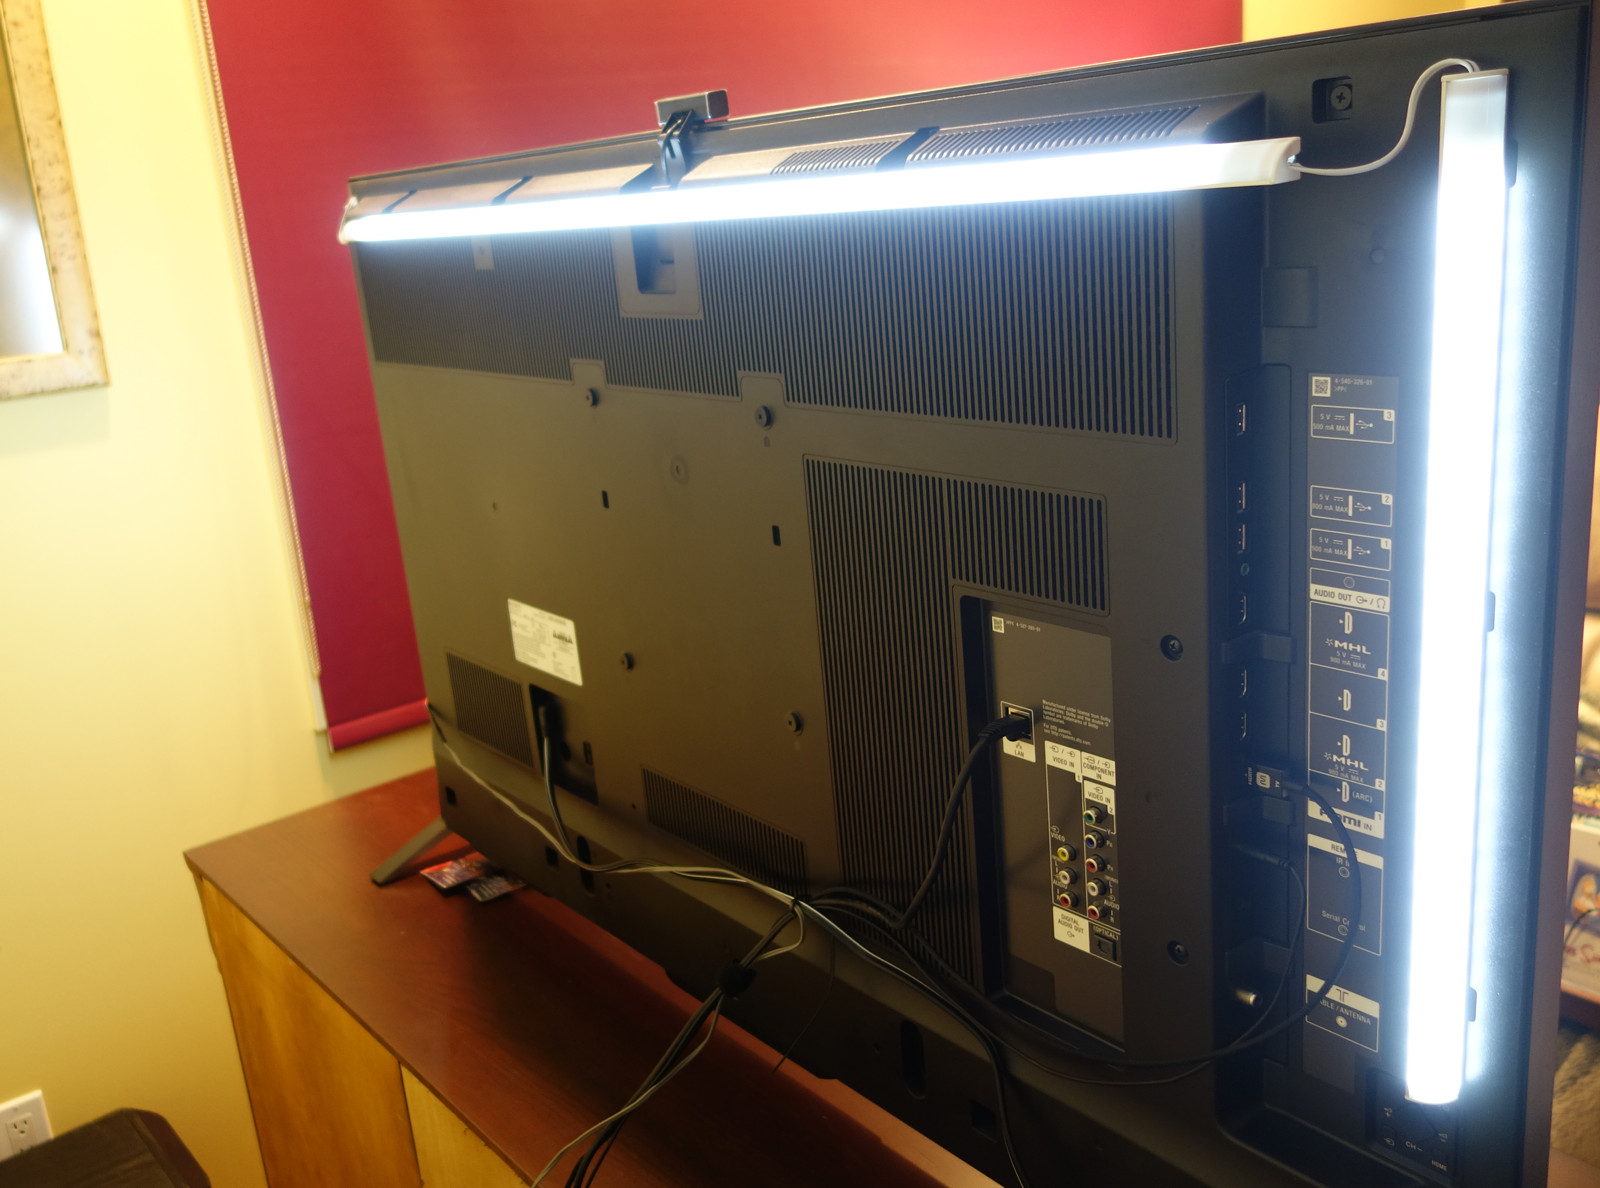
Left: With LED strips becoming so cheap, you can create your own solution pretty easily, like AVS Forum member Ovexi. Right: Alternatively, fluorescent tubes can also be used in DIY bias lighting projects, like AVS Forum member Daniel Tonks.
Similarly, you could use a dim (about 18w or less) 6500K ‘daylight’ fluorescent tube (like one made by Crompton), which will give a nice even spread of light behind your TV, but, again, you’ll need a fixture and a way to power it, which can quickly cause the costs to escalate.
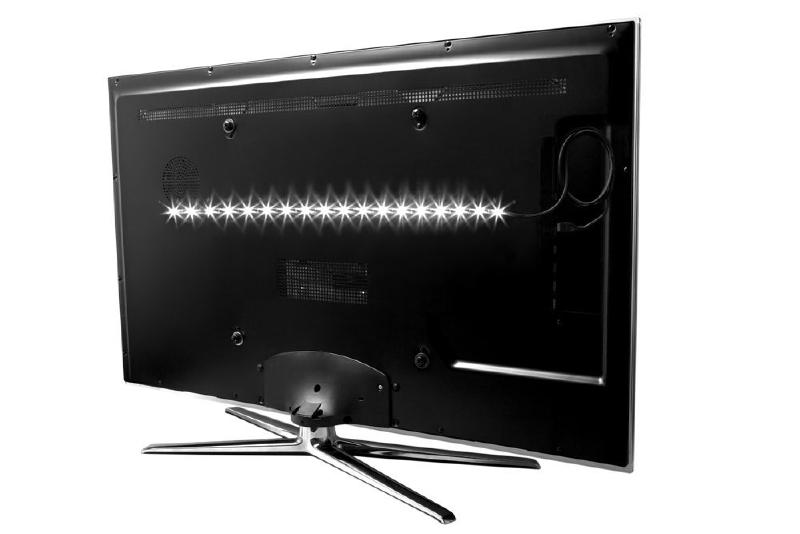
Given that ready-made lights, such as the USB powered ‘Antec SoundScience HDTV Bias Lighting Kit,’ are available on eBay for less than $50 including delivery, building one yourself may not save you much money, anyway.
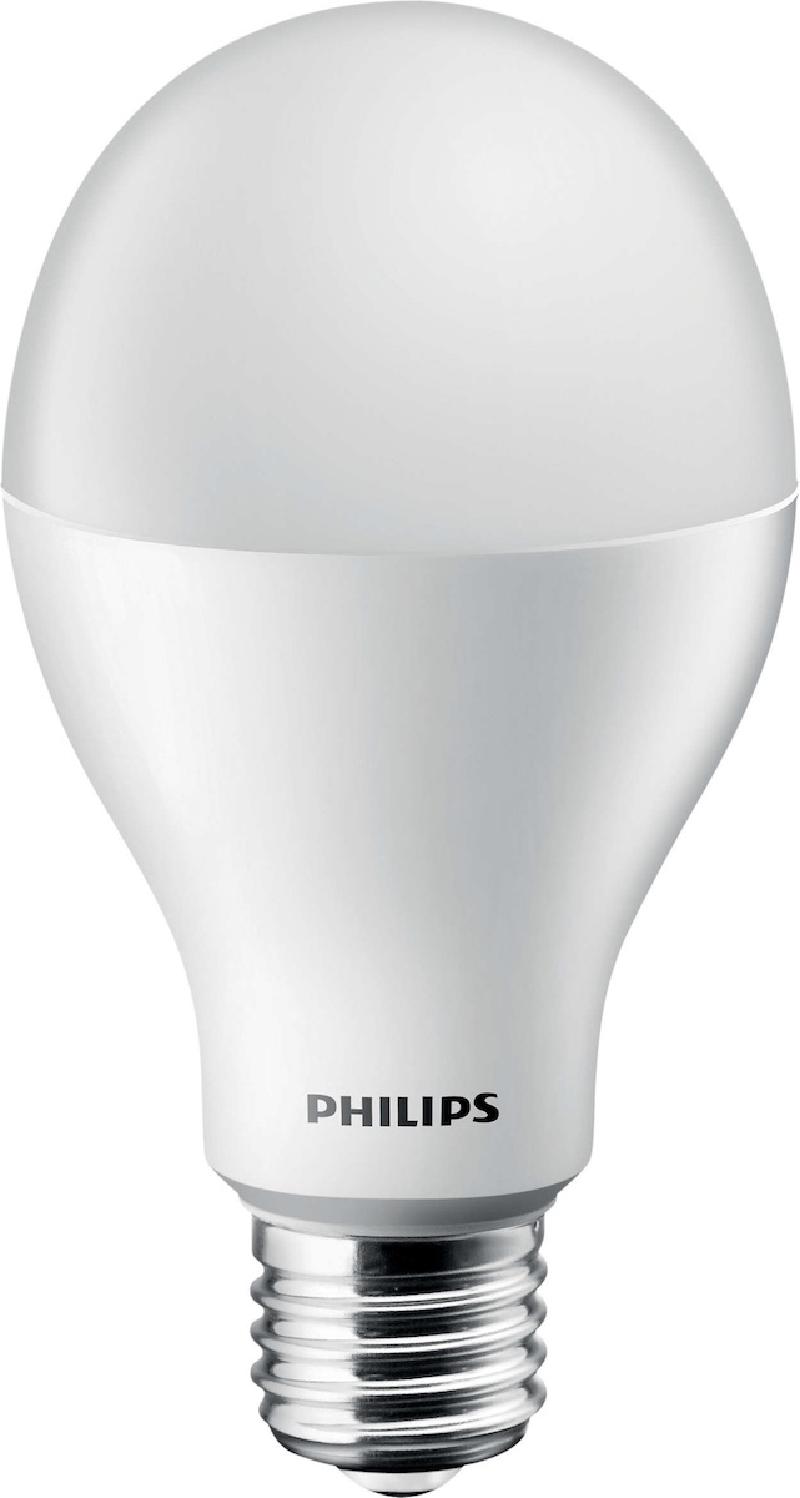
Where it can save you money, however, is if you have a spare lamp lying around that can be discreetly placed behind your TV and angled to shine onto the wall behind it. Then all you need is a dim (40w equivalent) 6500K bulb, and you’re cheering.
And, if you’re like me, you may already have a remote controlled power switch to aid in your growing obesity problem, and save you from having to get off of the couch to turn it on or off.
Now hand me that GoT boxset: there’s some important viewing to be done over the next 48 hours.
The deep dive
Want to know more? A technical paper on the importance of the viewing environment in reference environments (which can give you some good info for home theatre applications) is available from cinemaquestinc.com